Get started
This section gives a quick walkthrough on how to register your account, create your first application and issue your first token. When these steps are done you are ready to use our services and begin your application development or integration.
Images may not always represent the latest version of the console application.
Register IAM Console account
Navigate to the IAM Console and follow the steps to complete your account registration.
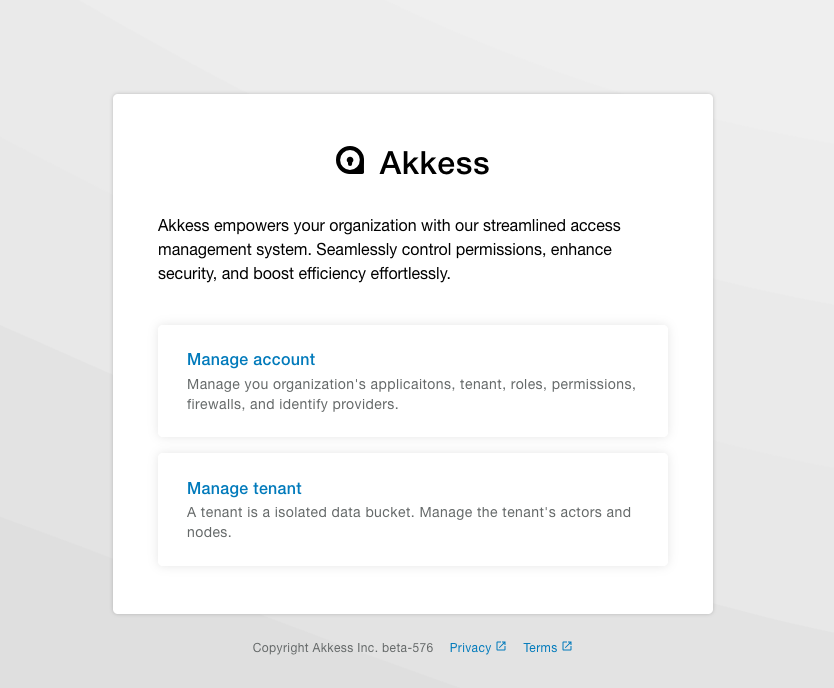
- You will need to select 'account console' to login or register your account
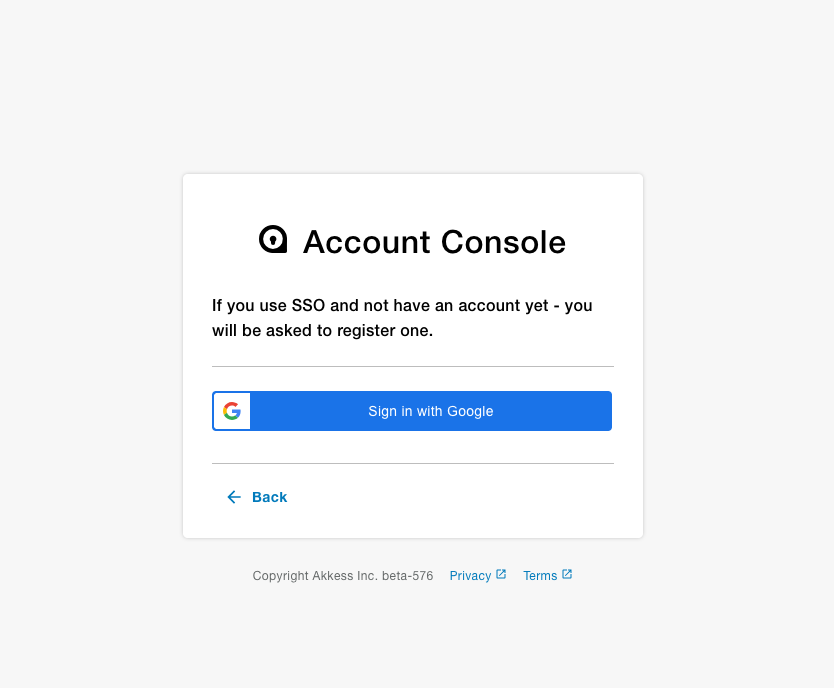
- In the second step you'll need to sign in into our identity provider (google)
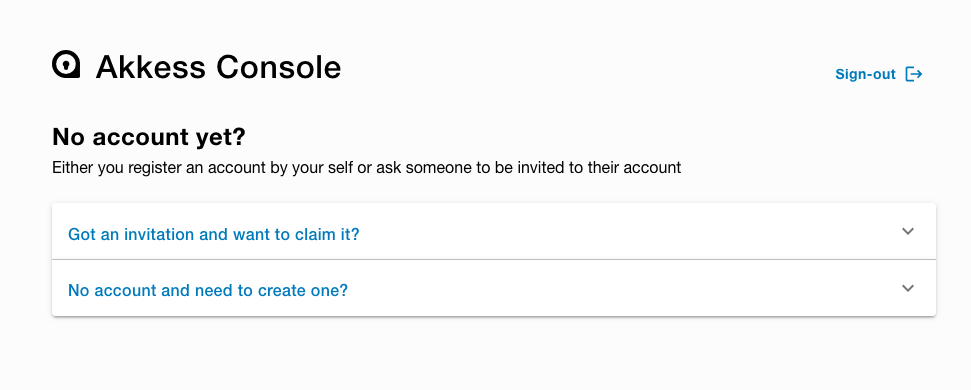
- After that you will be presented with an option to create a new account or claim an existing one - select 'create account'
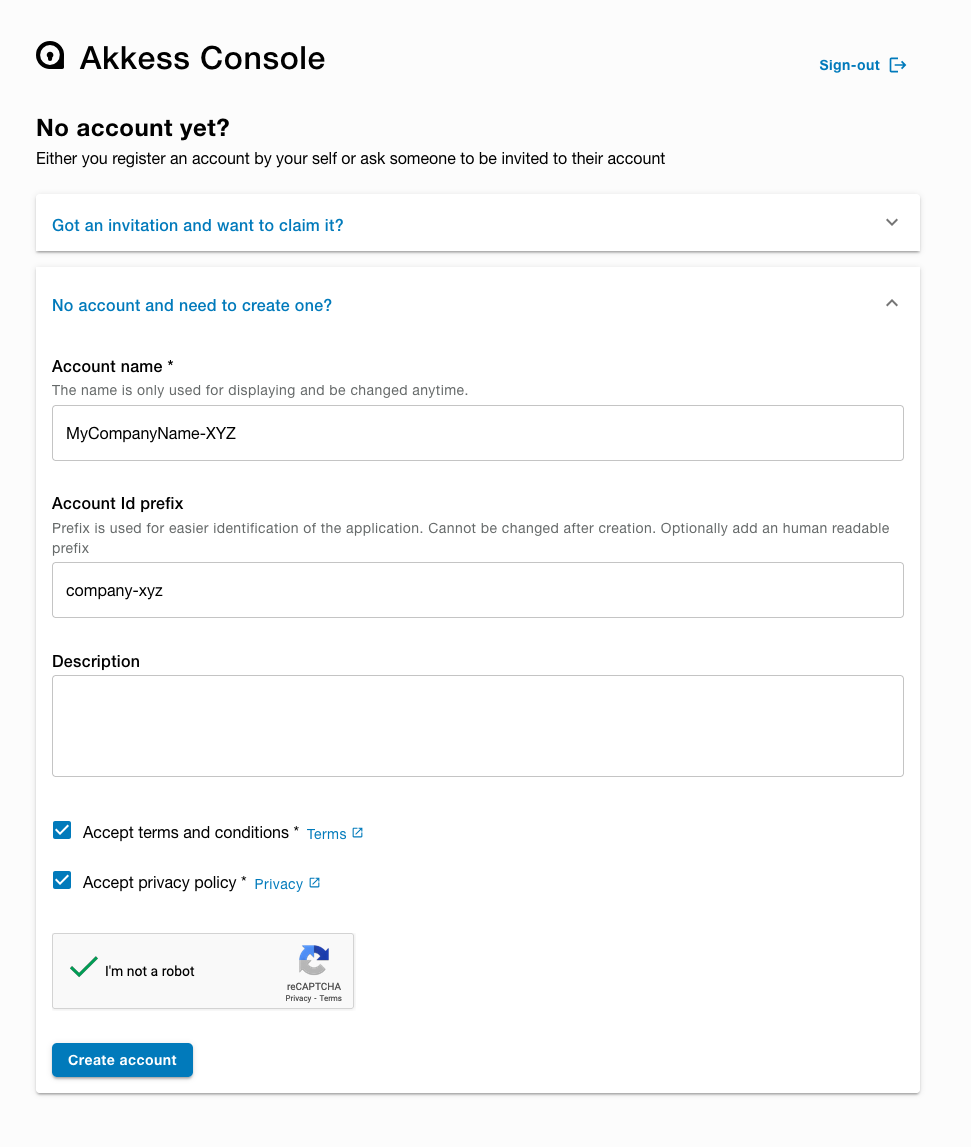
- Fill in the details and press 'create account'
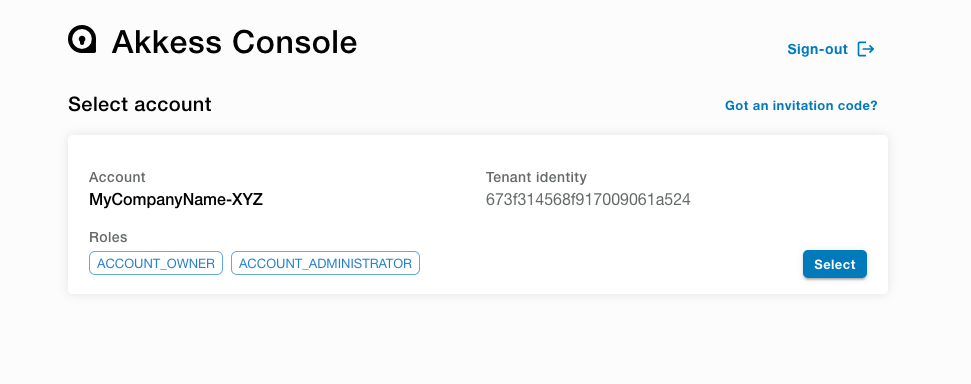
- Select your newly created account to continue
- Landing
- Login
- Create or claim
- Create
- Select
Configure your first application
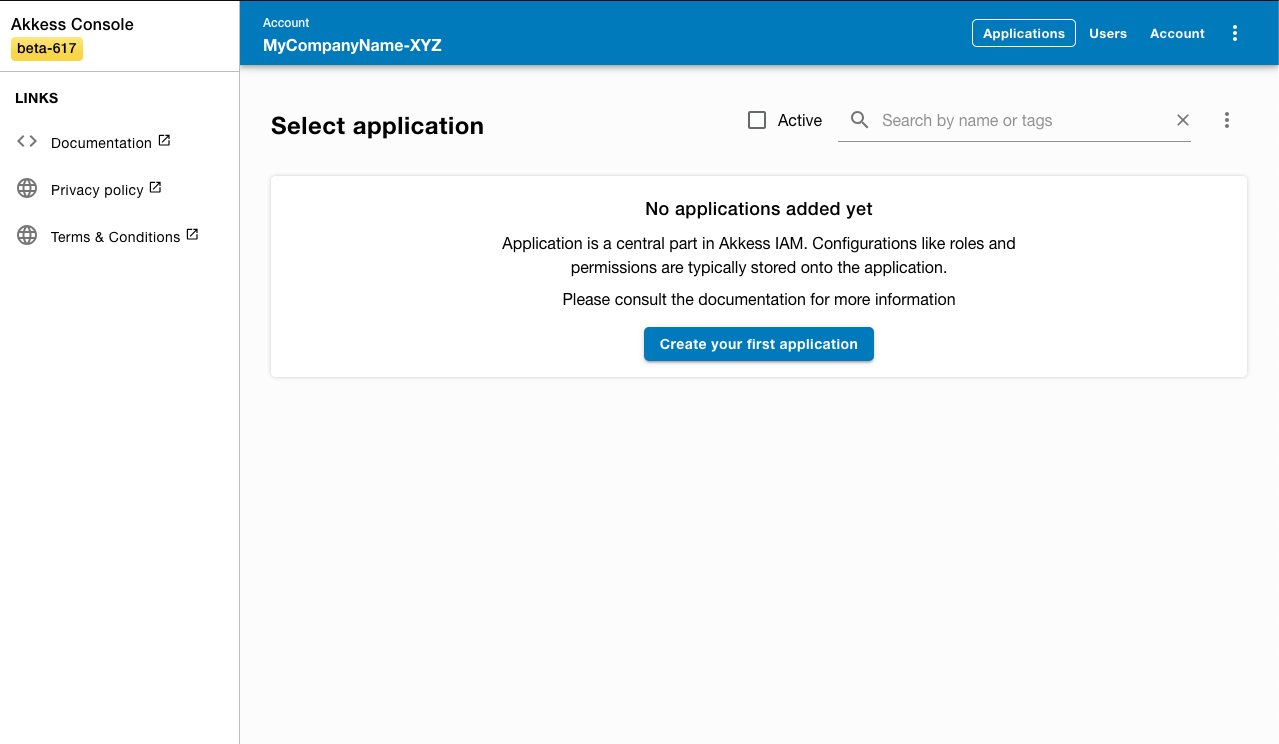
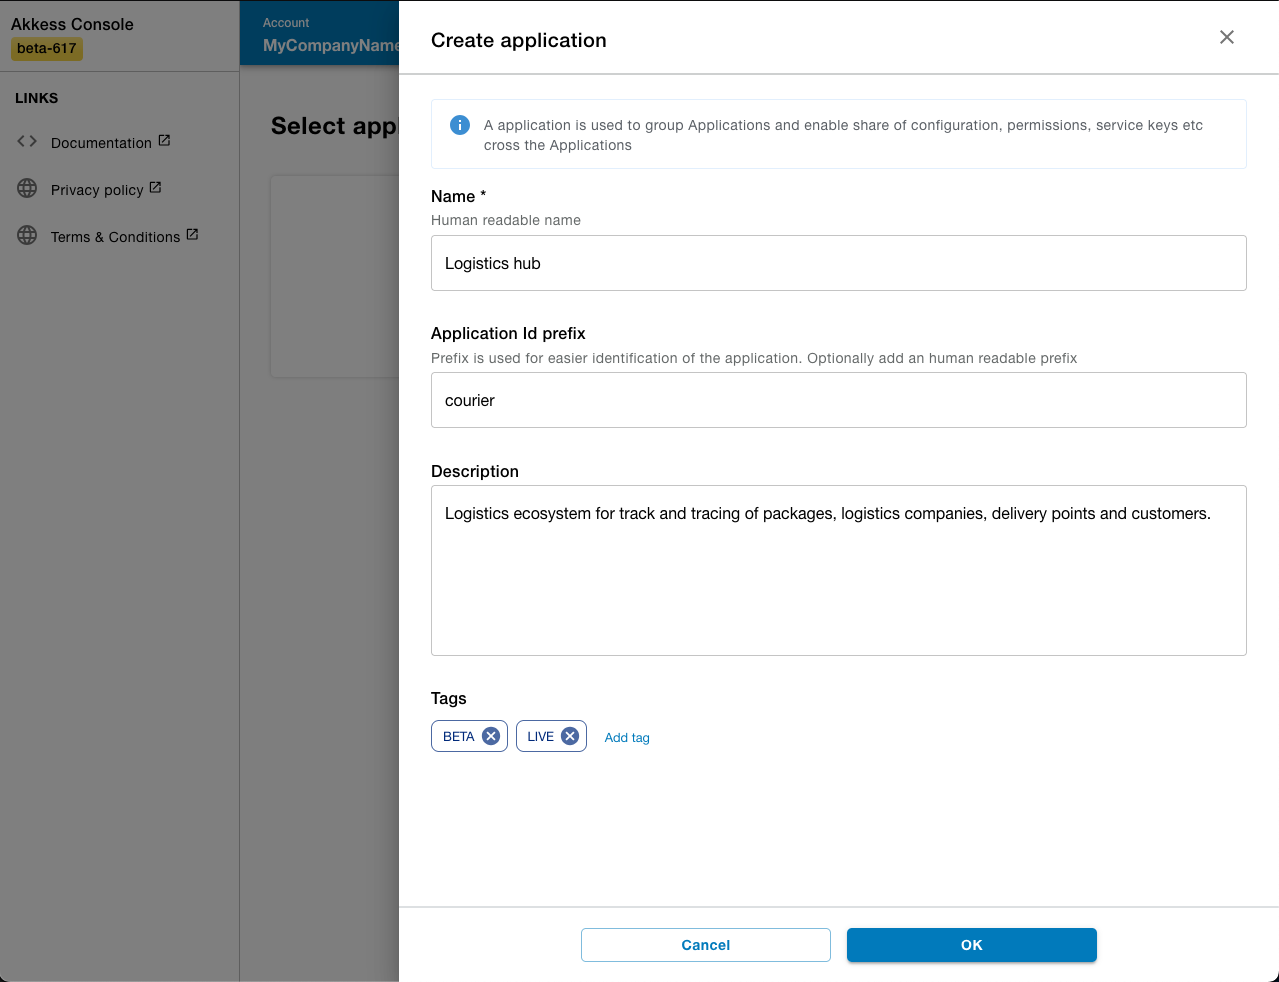
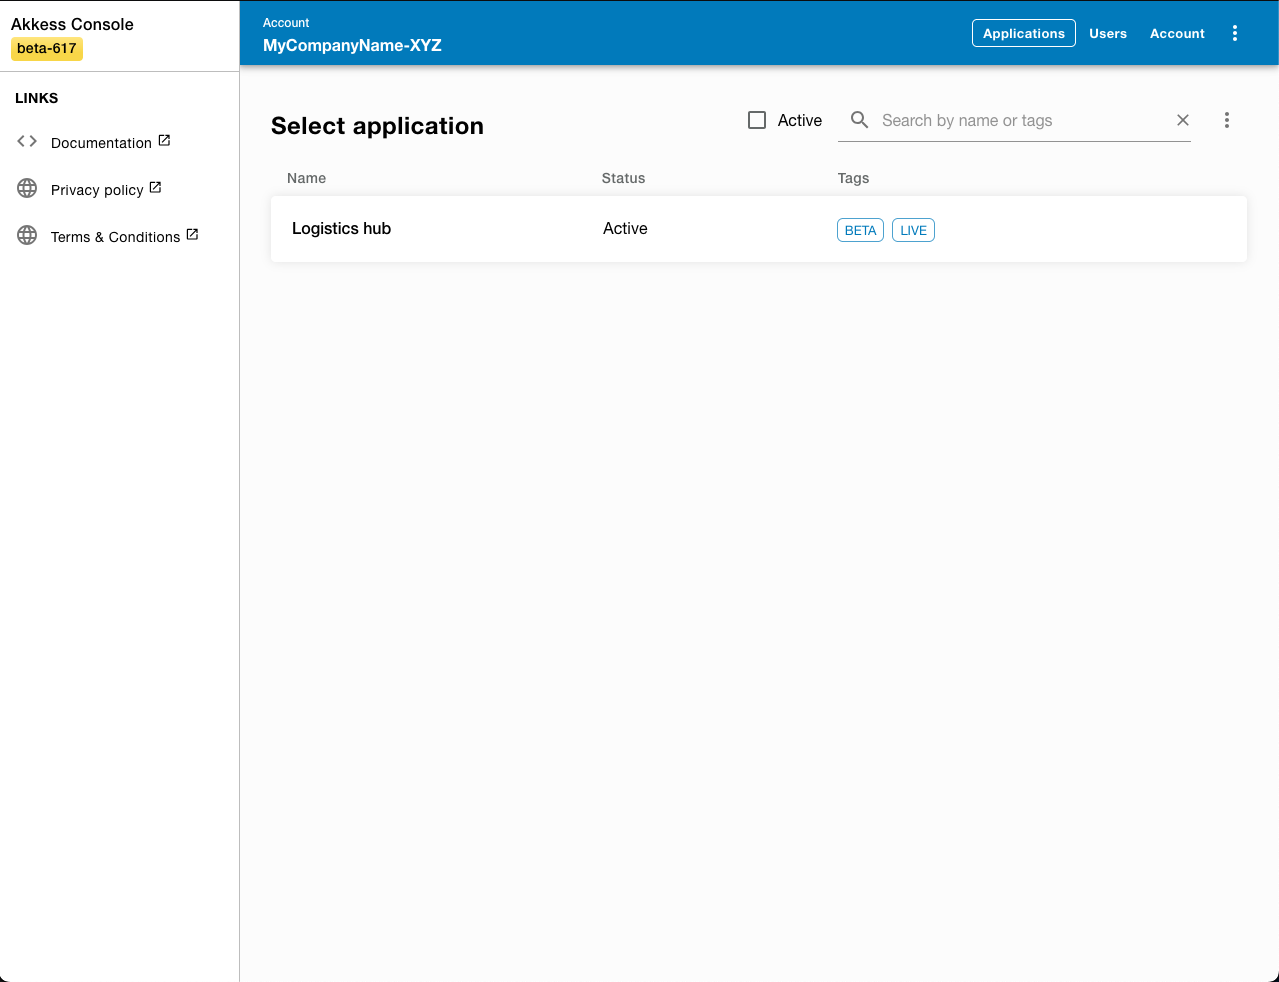
First you will need to create a new application that you are to administrate. Press the 'add application' and complete the flow. A new application will be available for use. Please select this application to proceed to the next stage.
- List
- Create
- Select
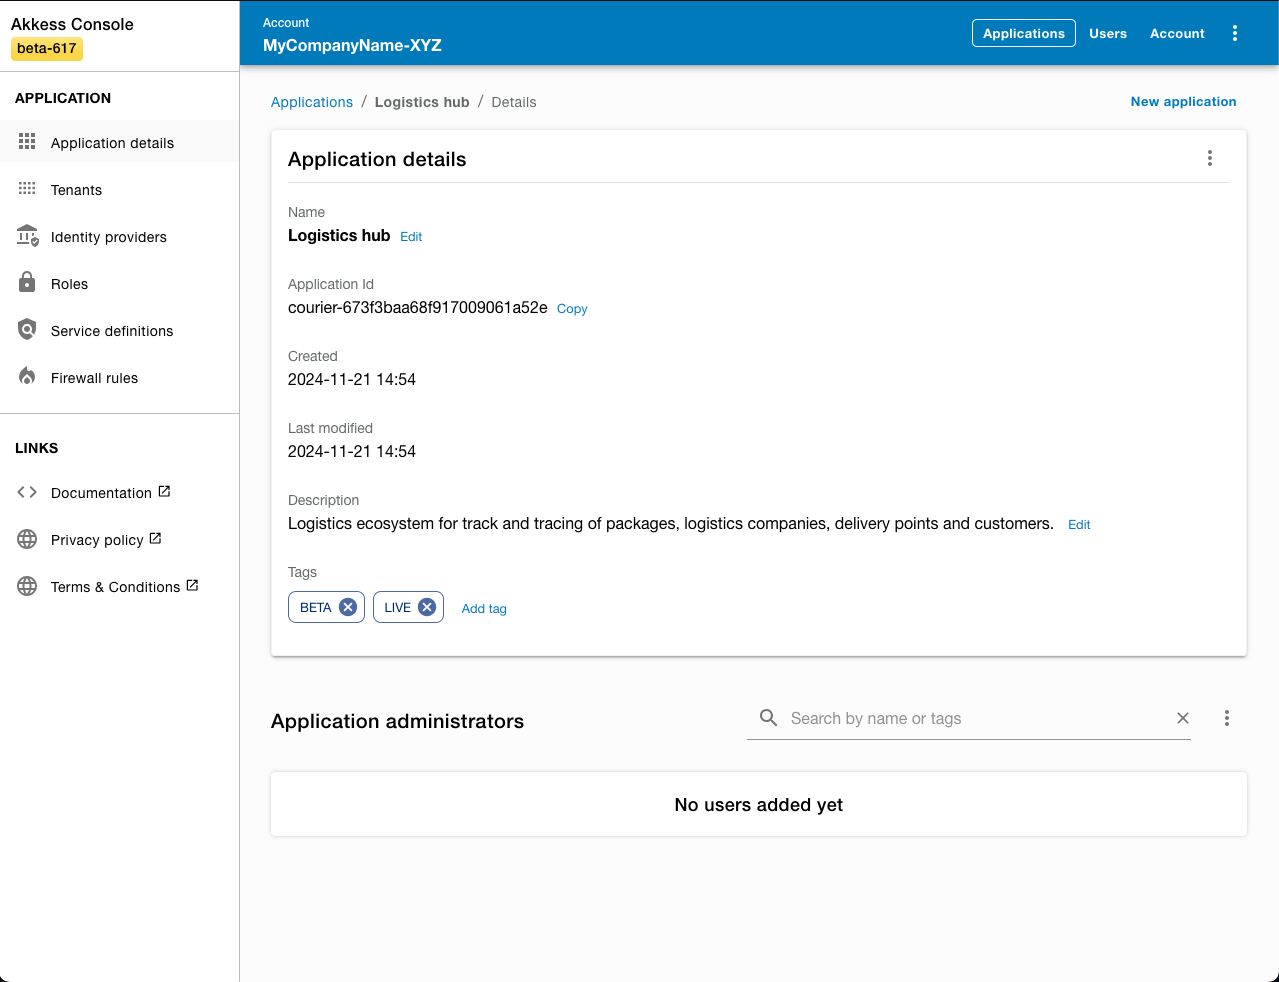
- Details
Configure application identity providers
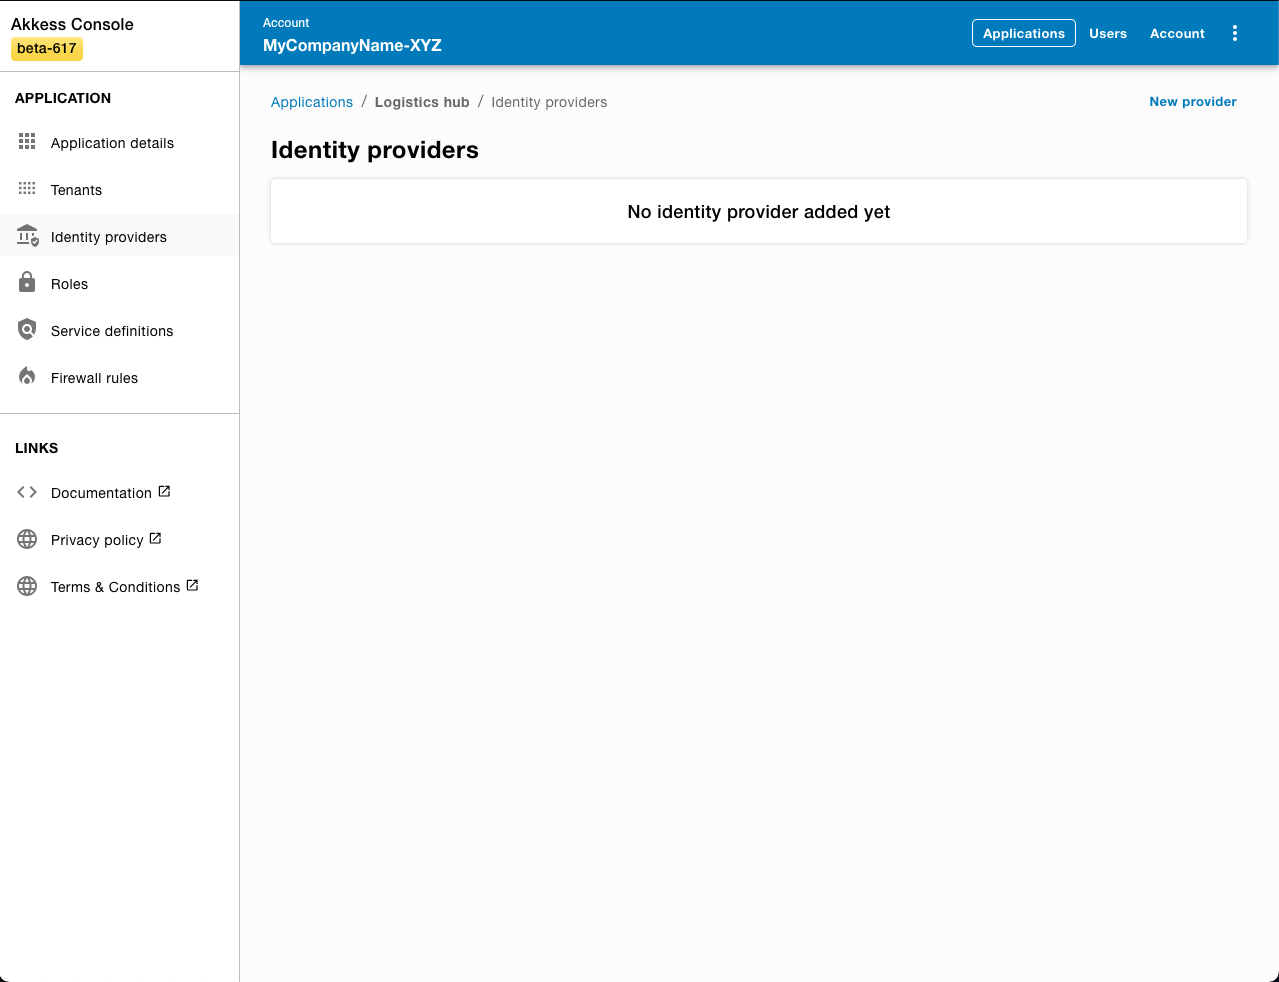
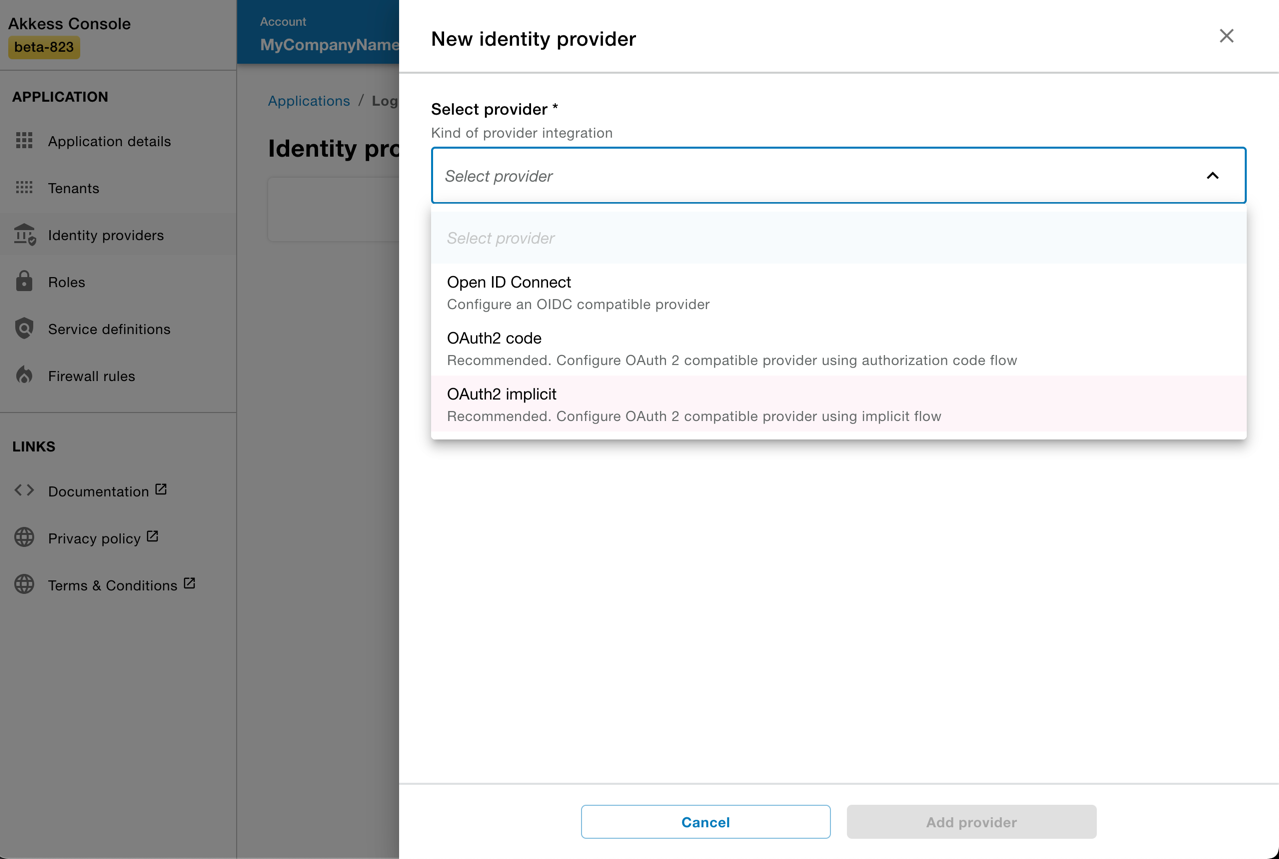
To enable end users to authenticate themselves and be able to log in into your application you'll need to configure a set of trusted identity provider configurations. Navigate to the 'Identity providers' section and add a trusted identity provider configuration of the type 'OAuth2 Implicit'.
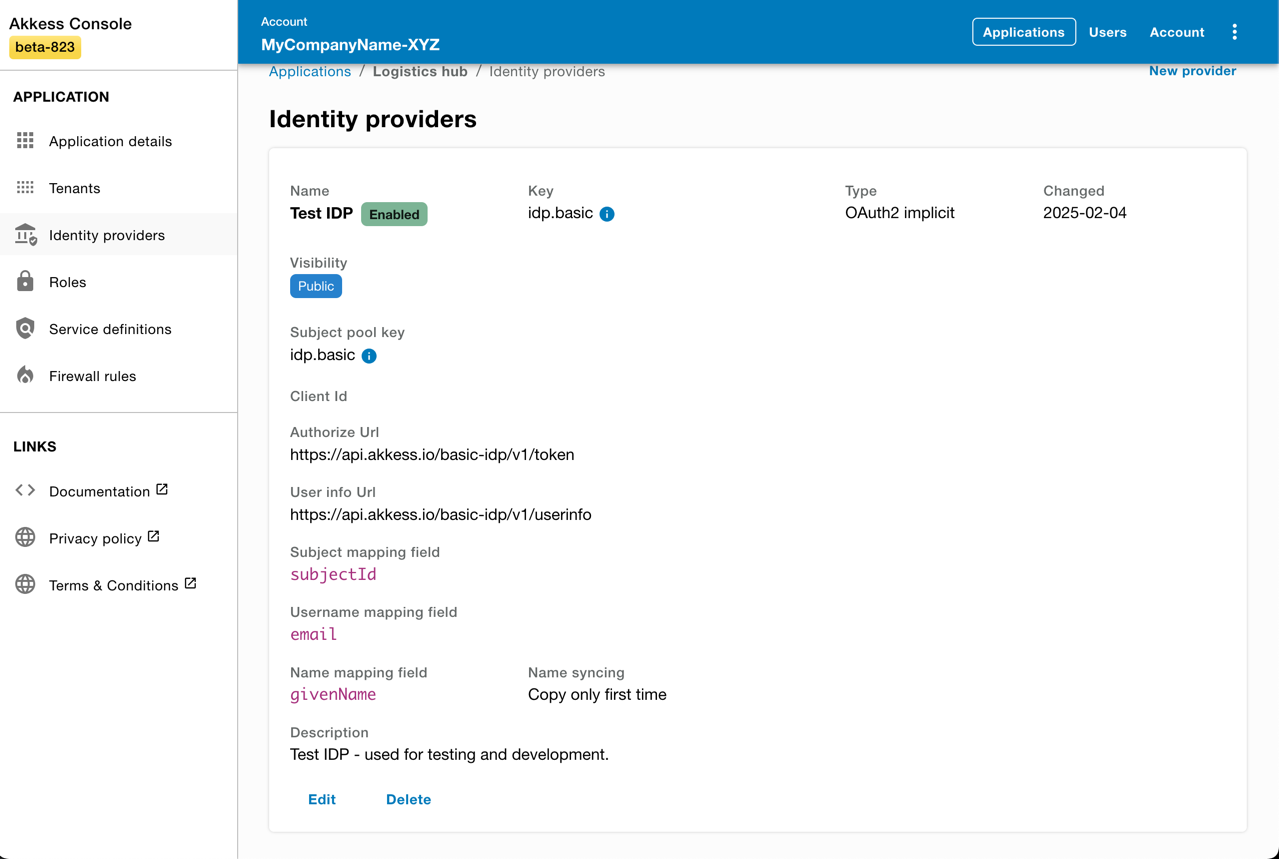
To aid with the setup, you can choose sample configuration from the 'templates' menu. Please select 'Akkess Test Idp'. Mark the identity provider visibility to 'public'. This will allow this configuration to be exposed and used in supporting lookup functions that will aid in login flows. An example is shown later in this guide.
- List
- Create
- Details
Configure application roles
To enable end users to perform any action in the system they will at least have one role assigned to them. Navigate to the 'Roles & Permissions' section to configure available roles for your application.
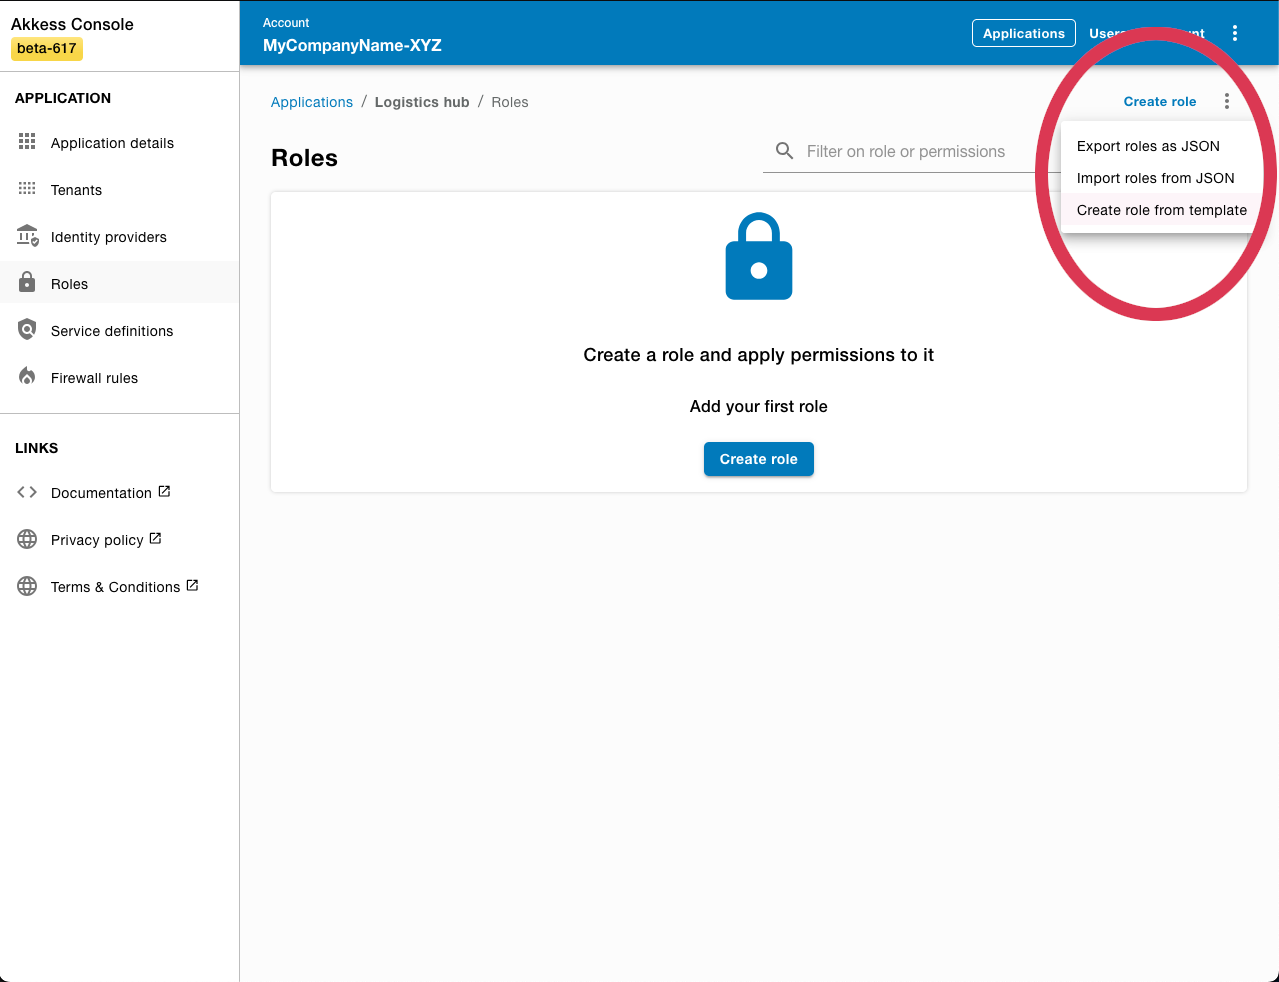
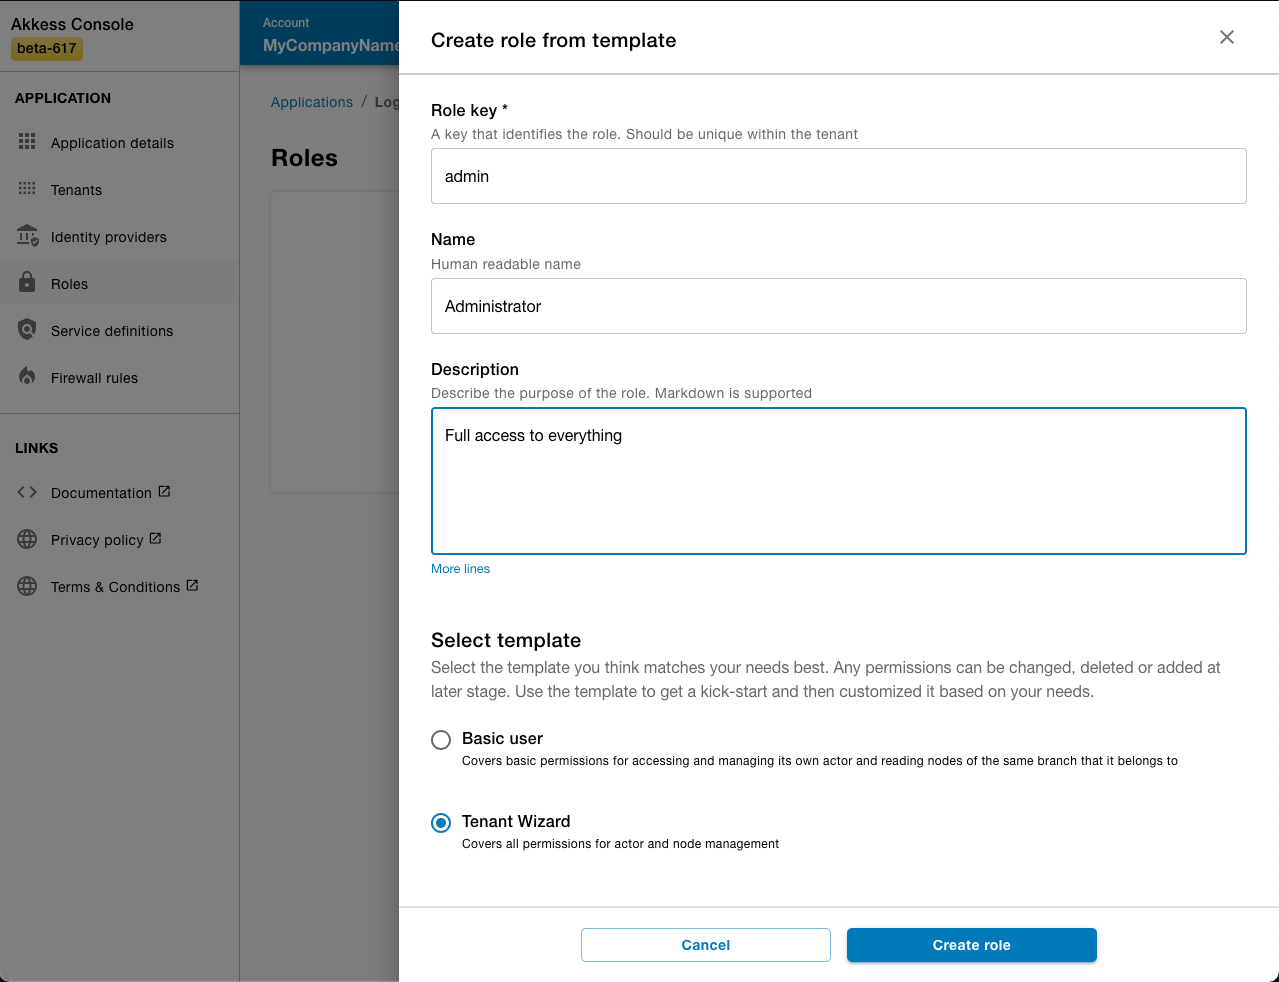
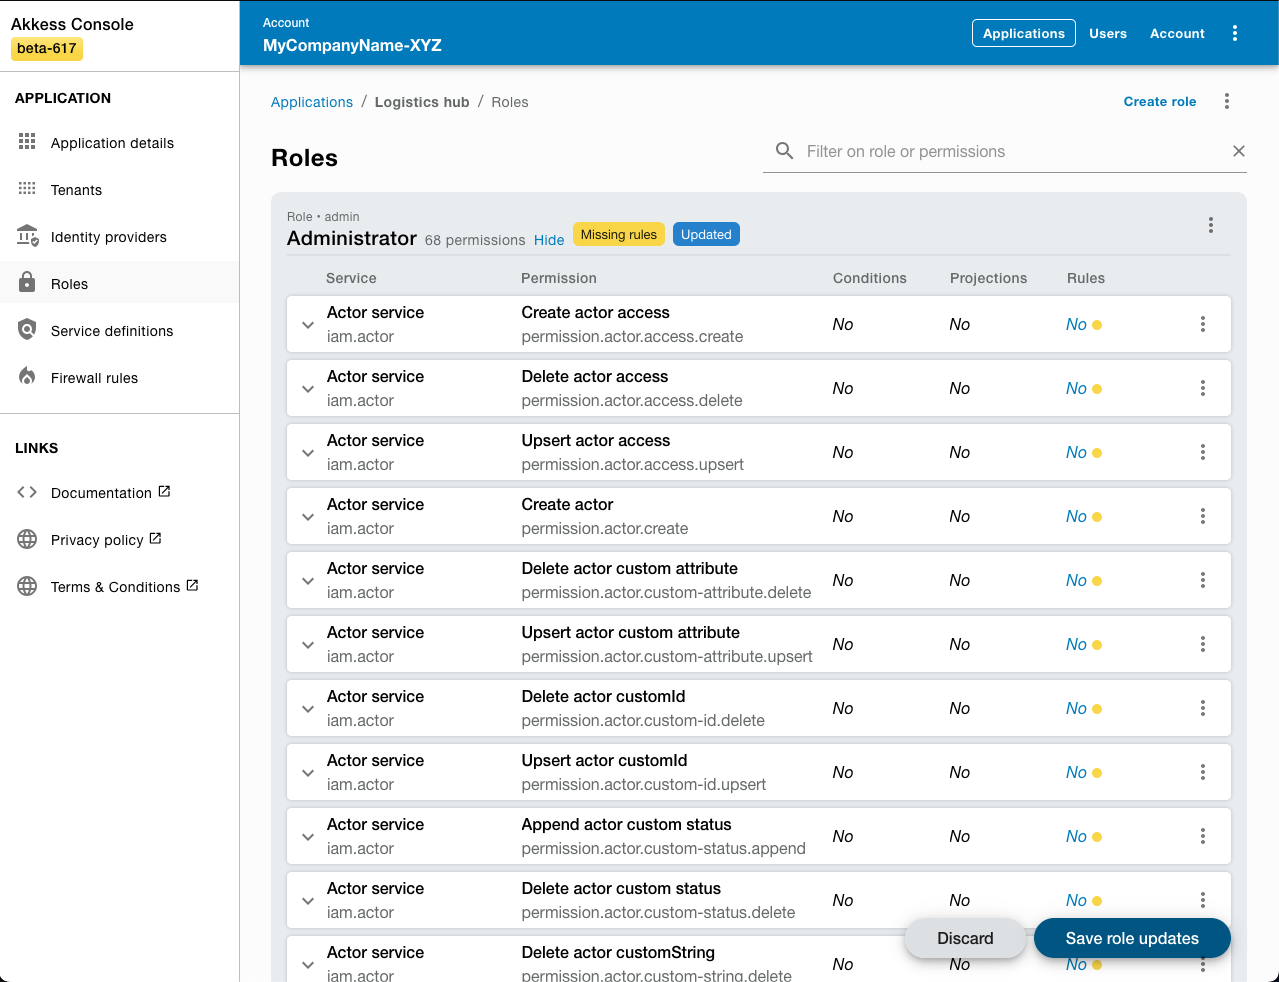
For this example, we will use an existing role template as base. You'll find the option to import the role template via the menu in the right corner.
- List
- Create
- Save
Configure your first tenant
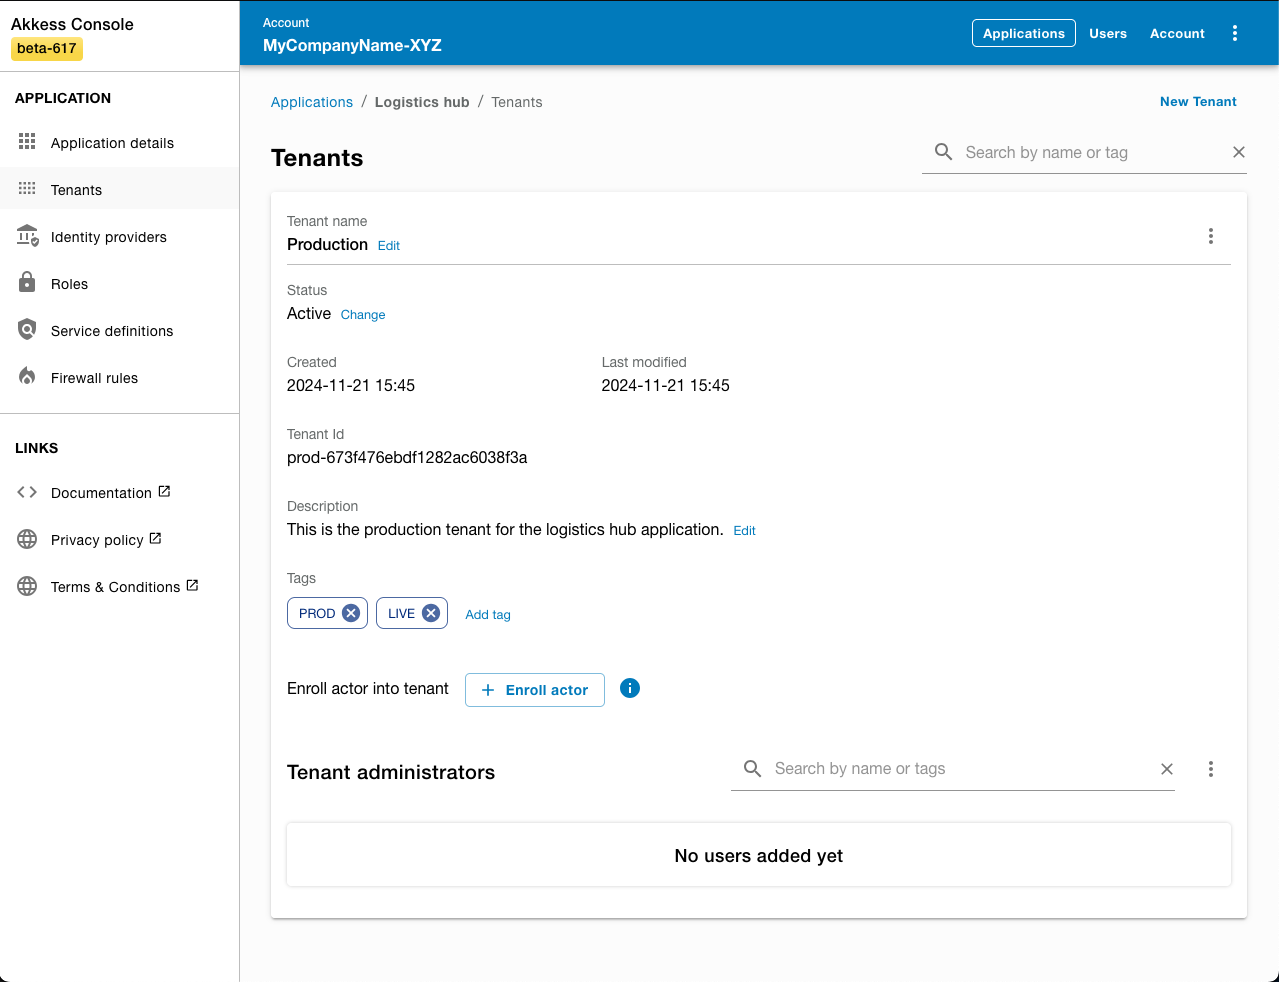
A tenant is an isolated data bucket for your application. End users who are enrolled into a tenant may issue tokens and start to read or write data in said tenant. This topic is described in more detail in reference documentation for multi-tenancy.
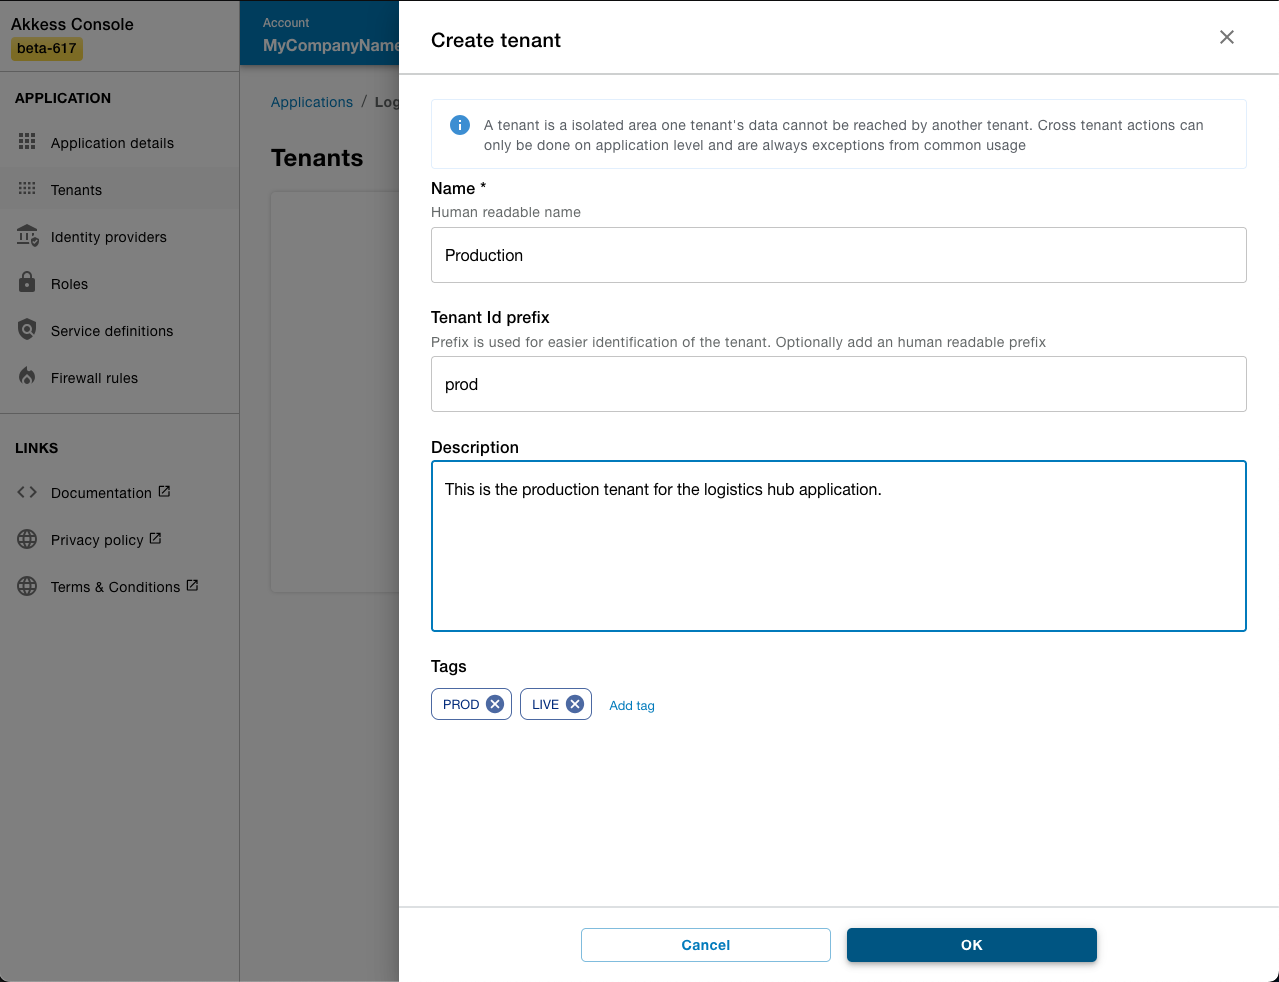
Create tenant
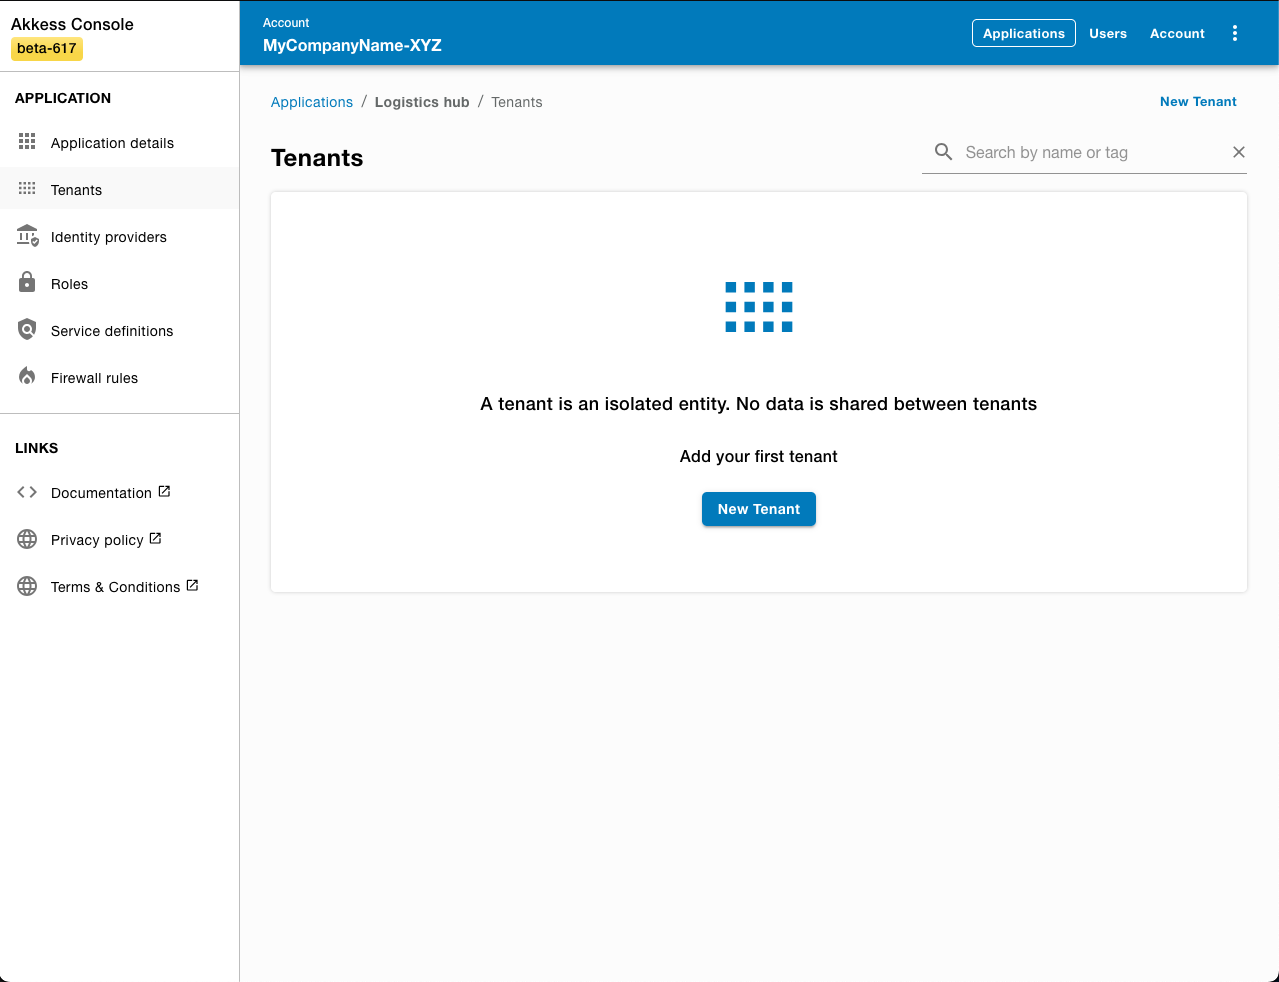
You will need at least one tenant for your application to start using it.
Press 'new tenant' to create your first tenant.
- List
- Create
- Details
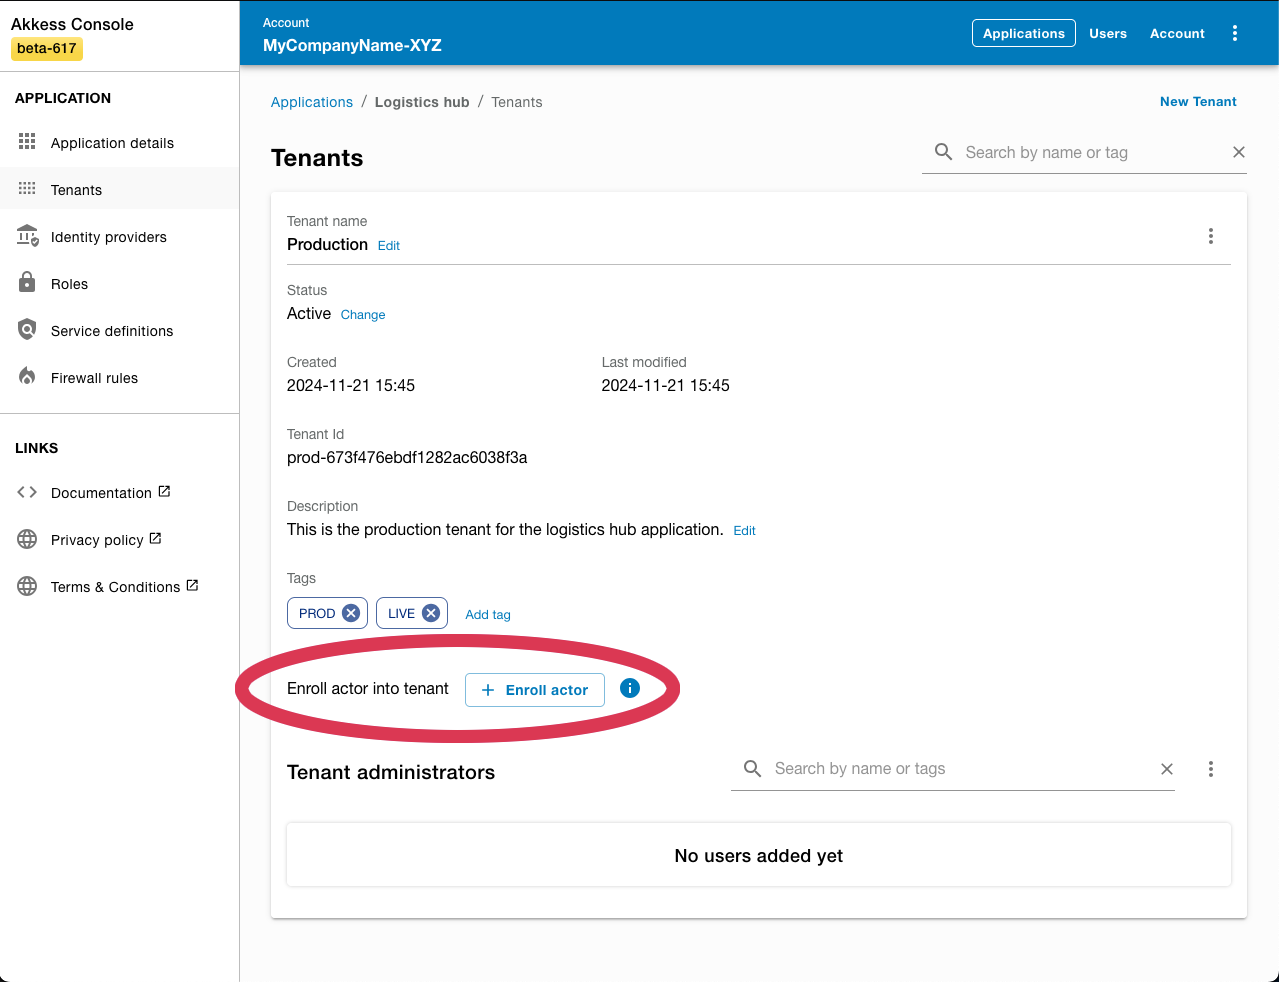
Enroll your first actor
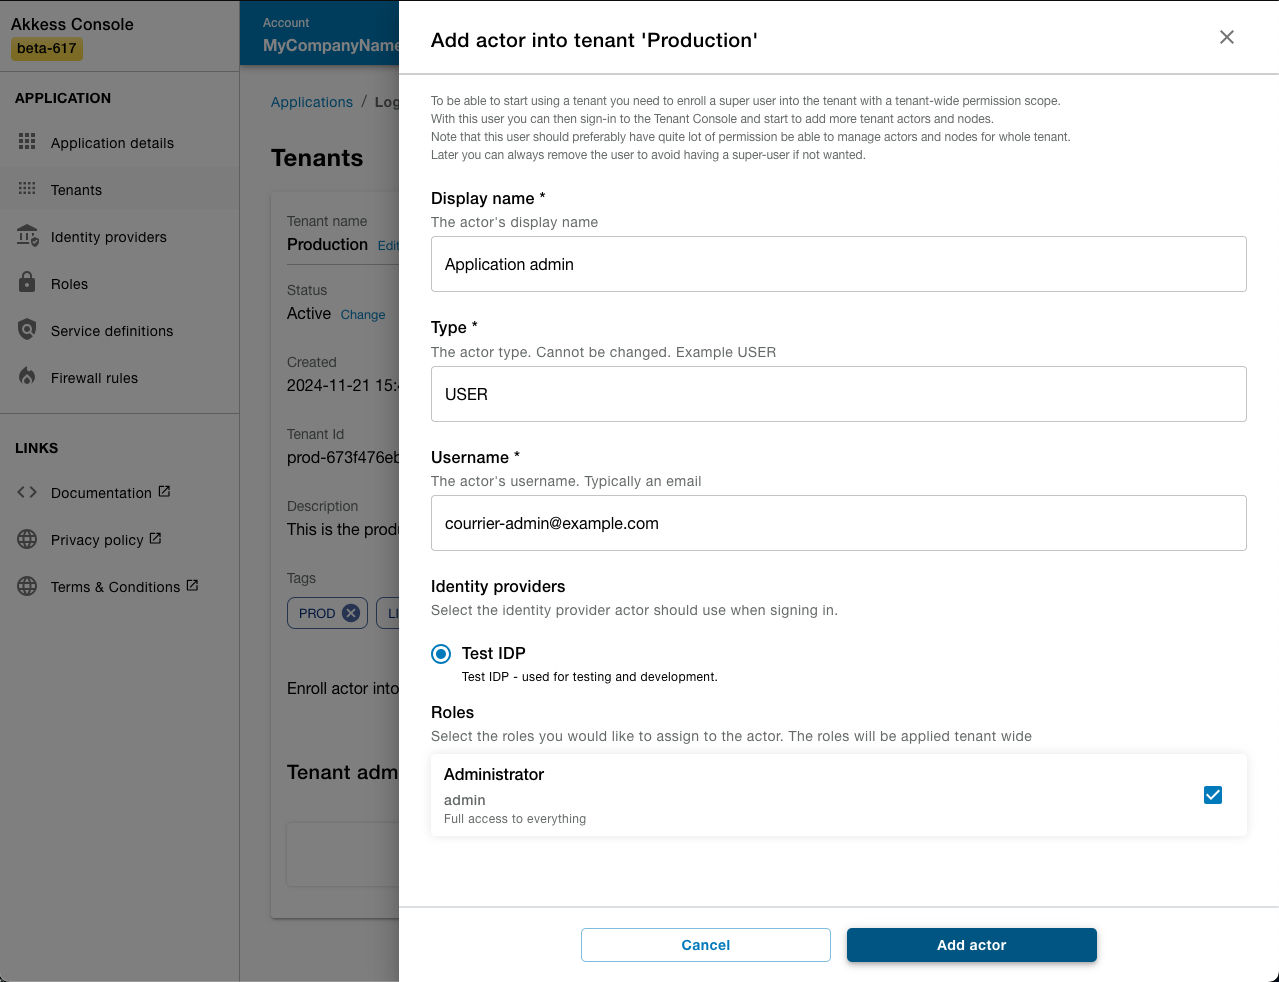
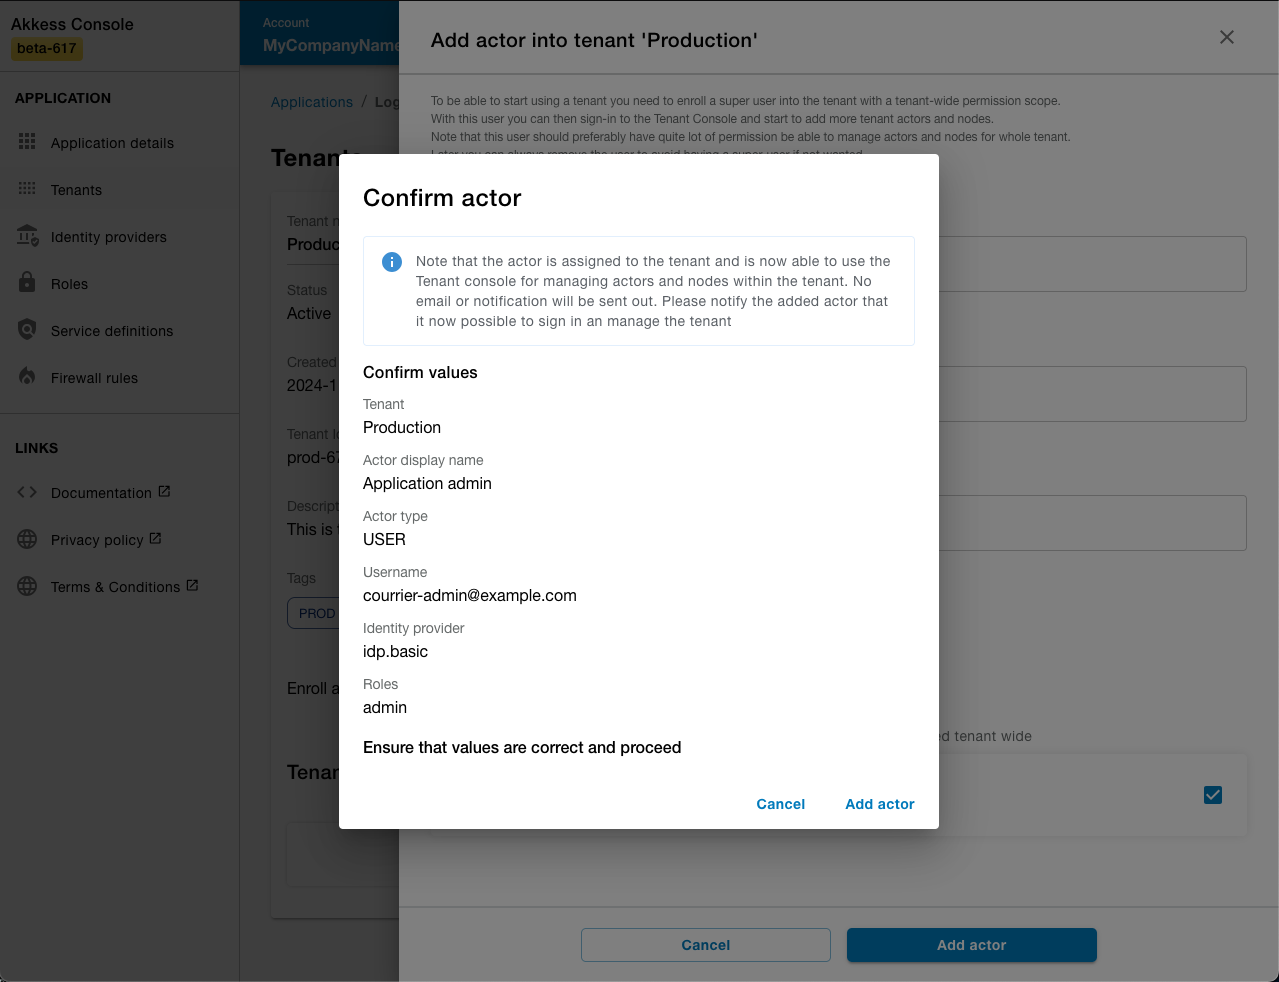
This step will create an actor with the provided details into said tenant. An actor represents an end user that interacts with the IAM Platform and can issue IAM tokens.
In this step you will need to provide a unique email address for your end user / actor.
In the next step of the guide you will create the Basic IdP account with the same email address.
Note that enrolled actors are part of your new tenant and will not be visible in the IAM Account Console. To administer actors within respective tenant you will need to switch to the IAM Tenant Console.
This way of enrolling actors is usually reserved for the initial end user or system user of the application. The most common way of enrolling actors within a tenant is that some existing actor either register or invites new end users into the same tenant.
- Enroll
- Details
- Confirm
Try out your application
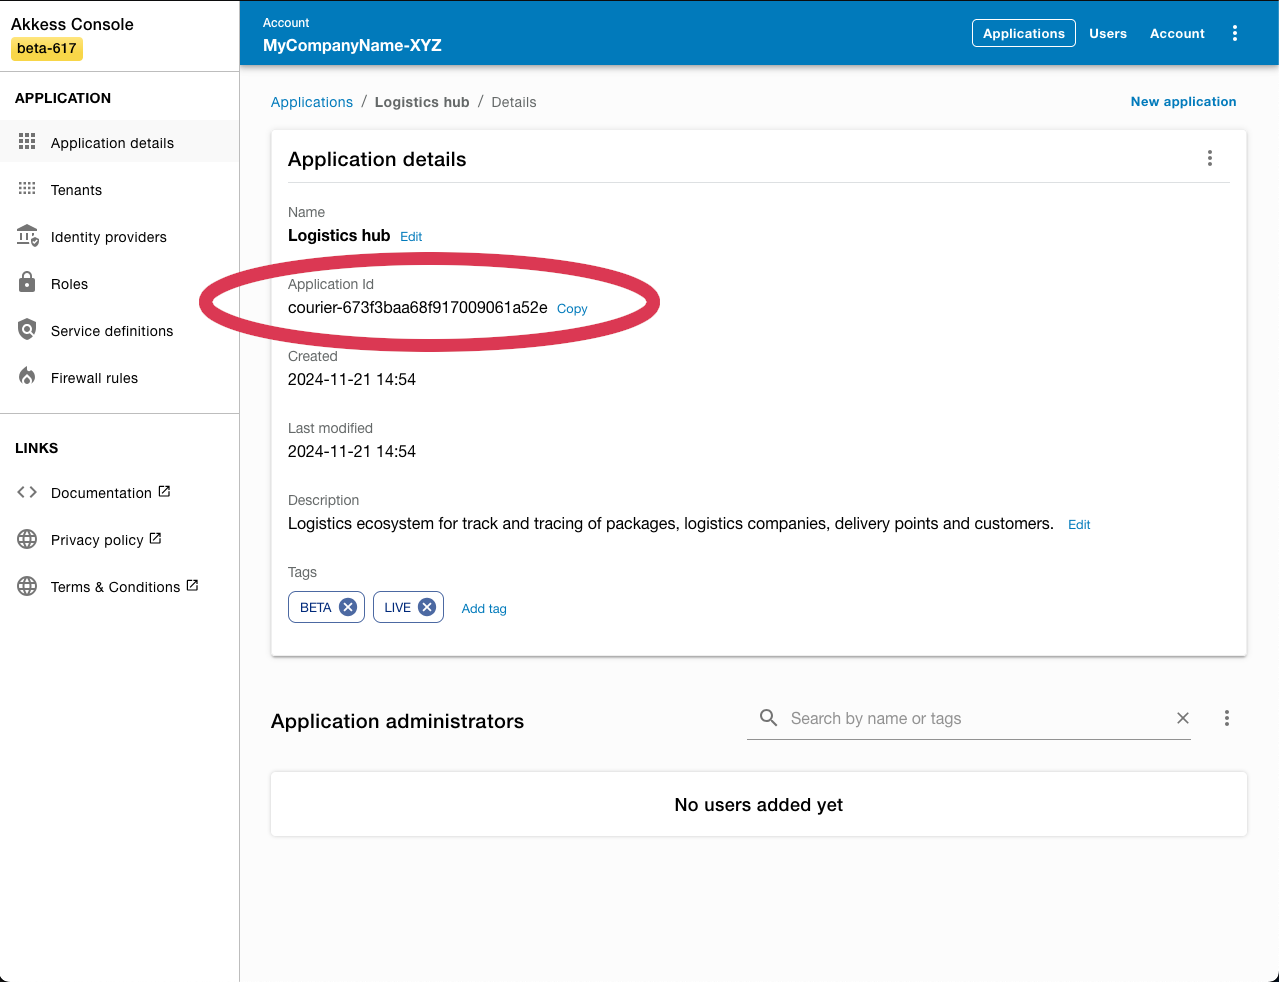
To try out your application using the IAM Tenant Console you will first need to know your Application's applicationId. Navigate to your application list and select your application and then copy the applicationId.
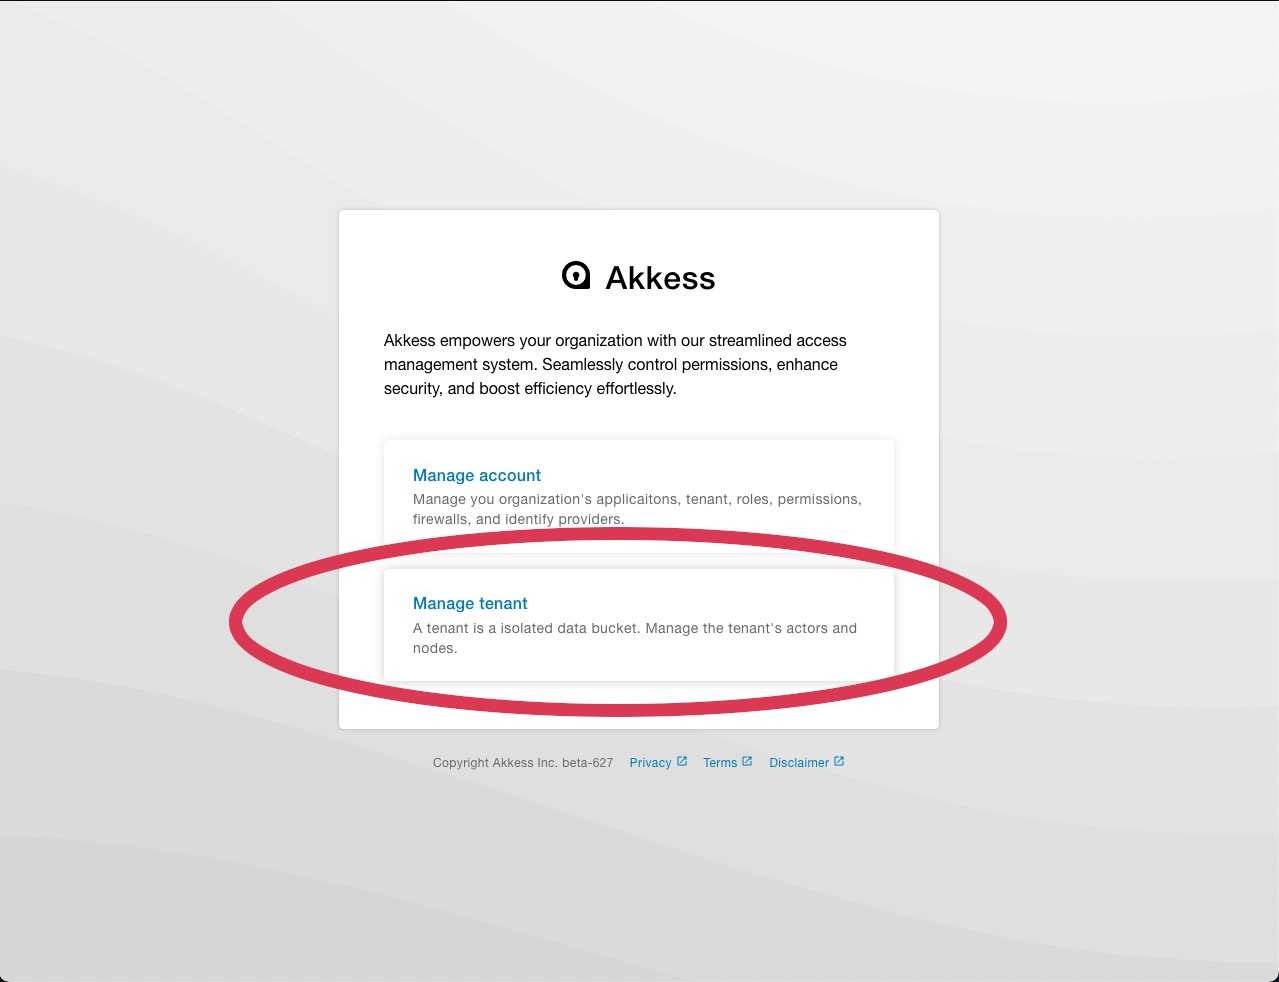
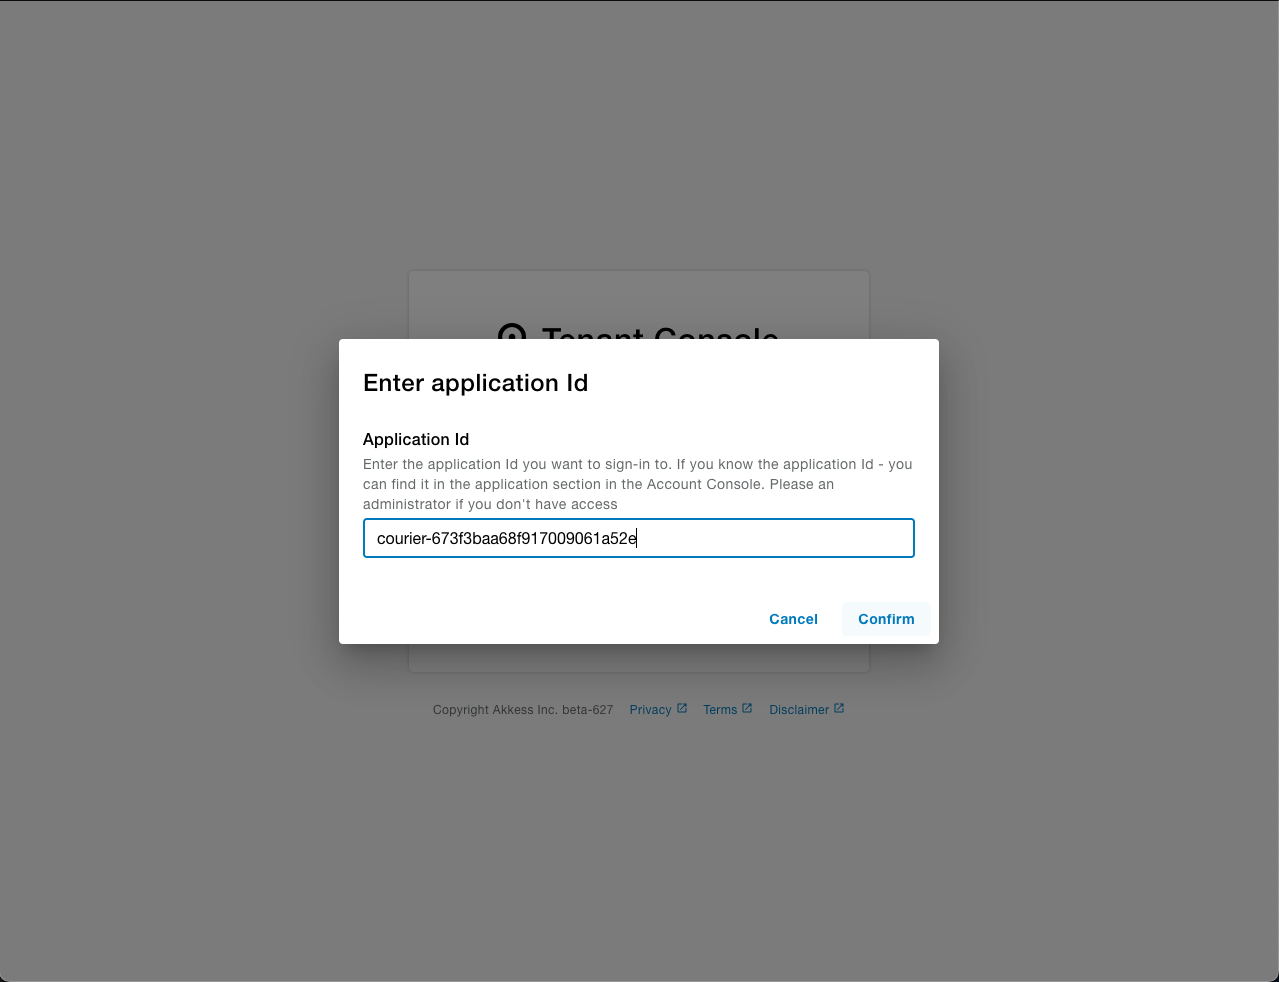
Open the IAM Tenant Console portal and use your applicationId to select your application.
- Copy
- Navigate
- Supply
Login into application
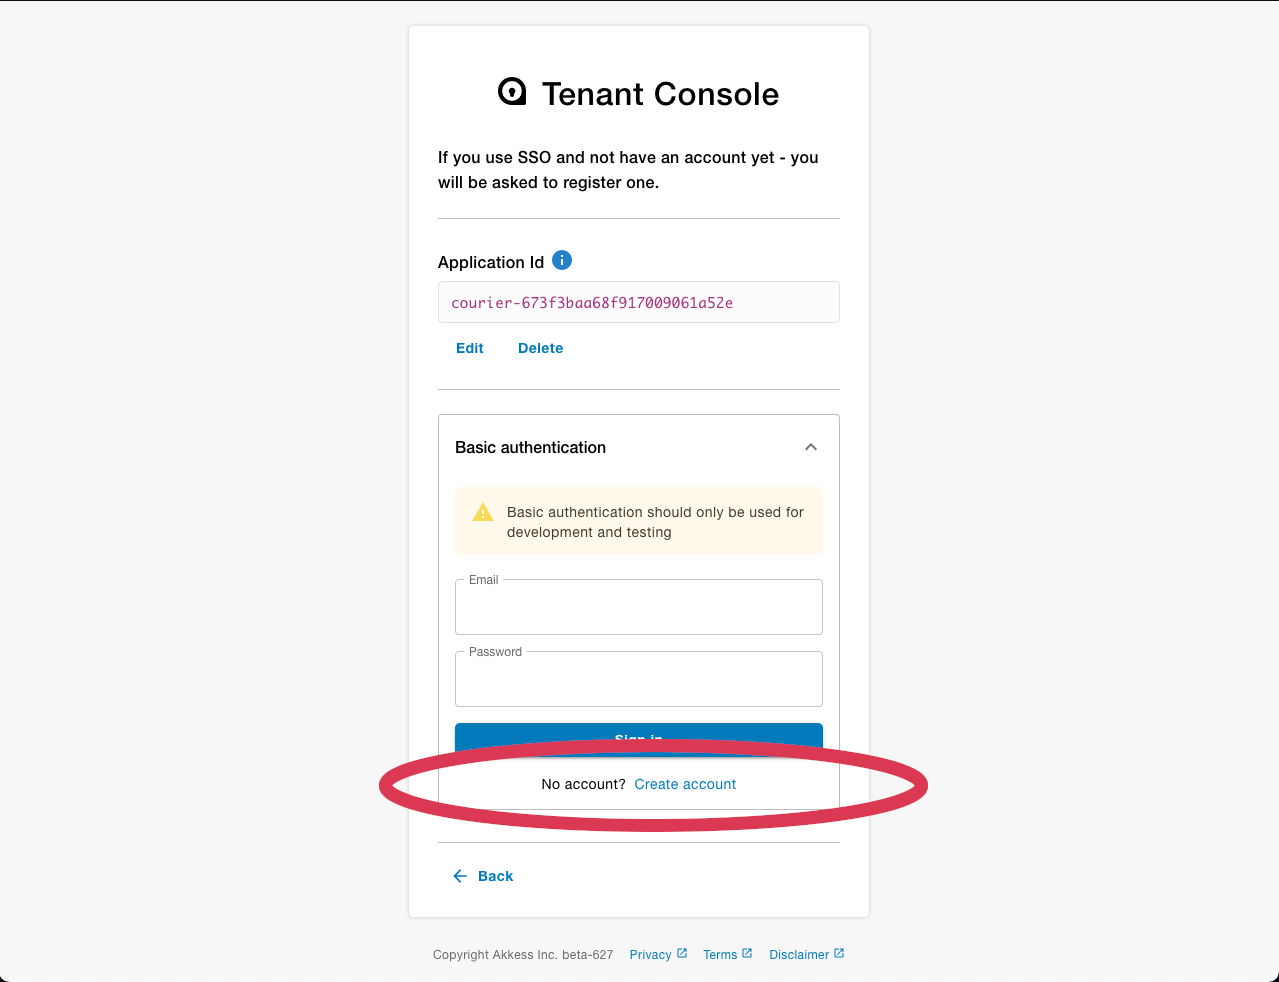
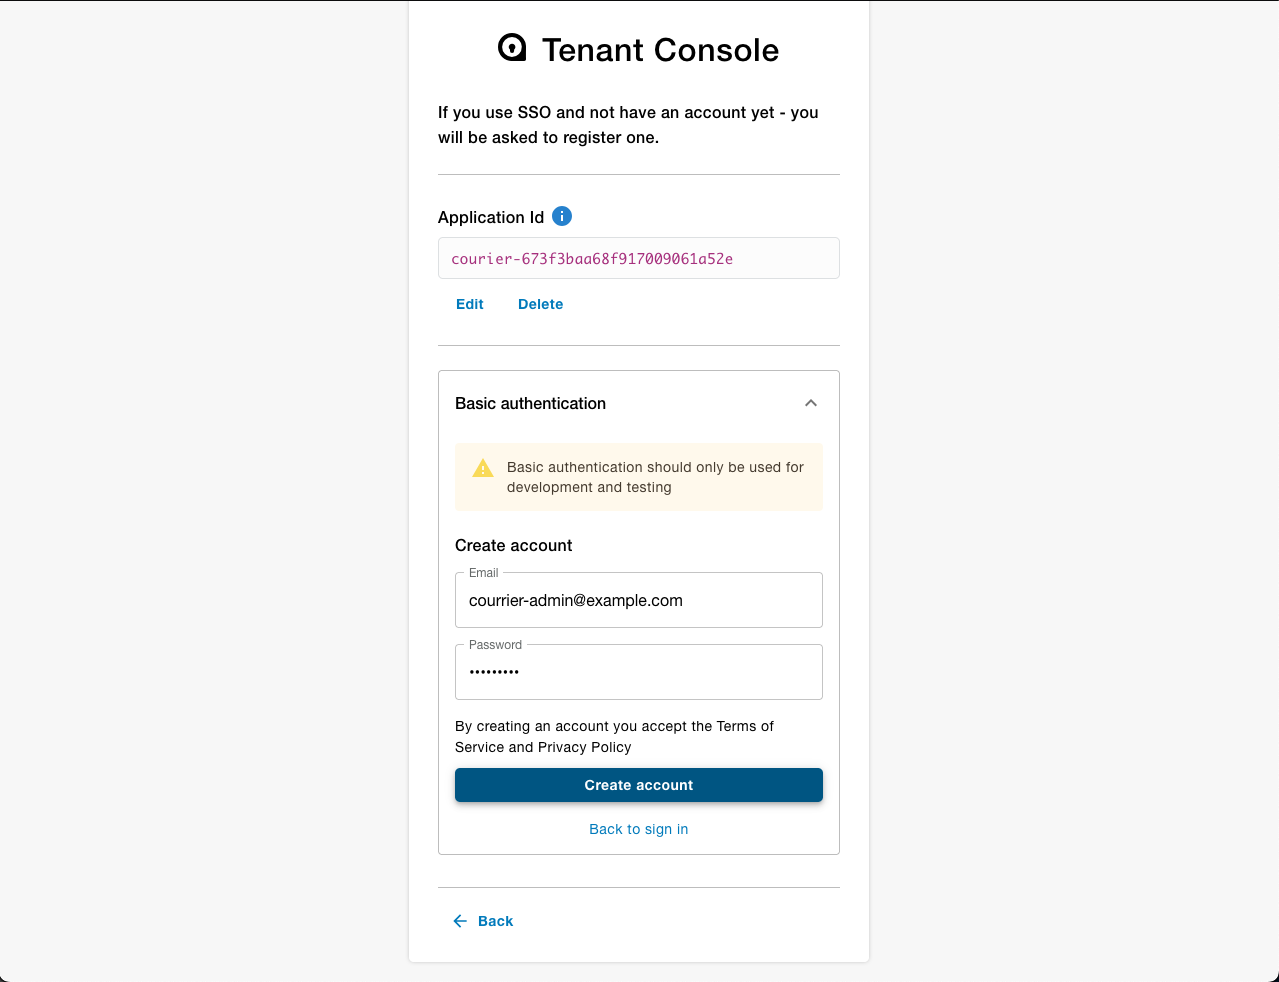
You'll be presented a choice of identity providers to log in or register a new IdP account if needed. This is likely the first time you are using the Basic IdP and will need to register an account, using the same email address that you used in the previous 'enroll actor' step.
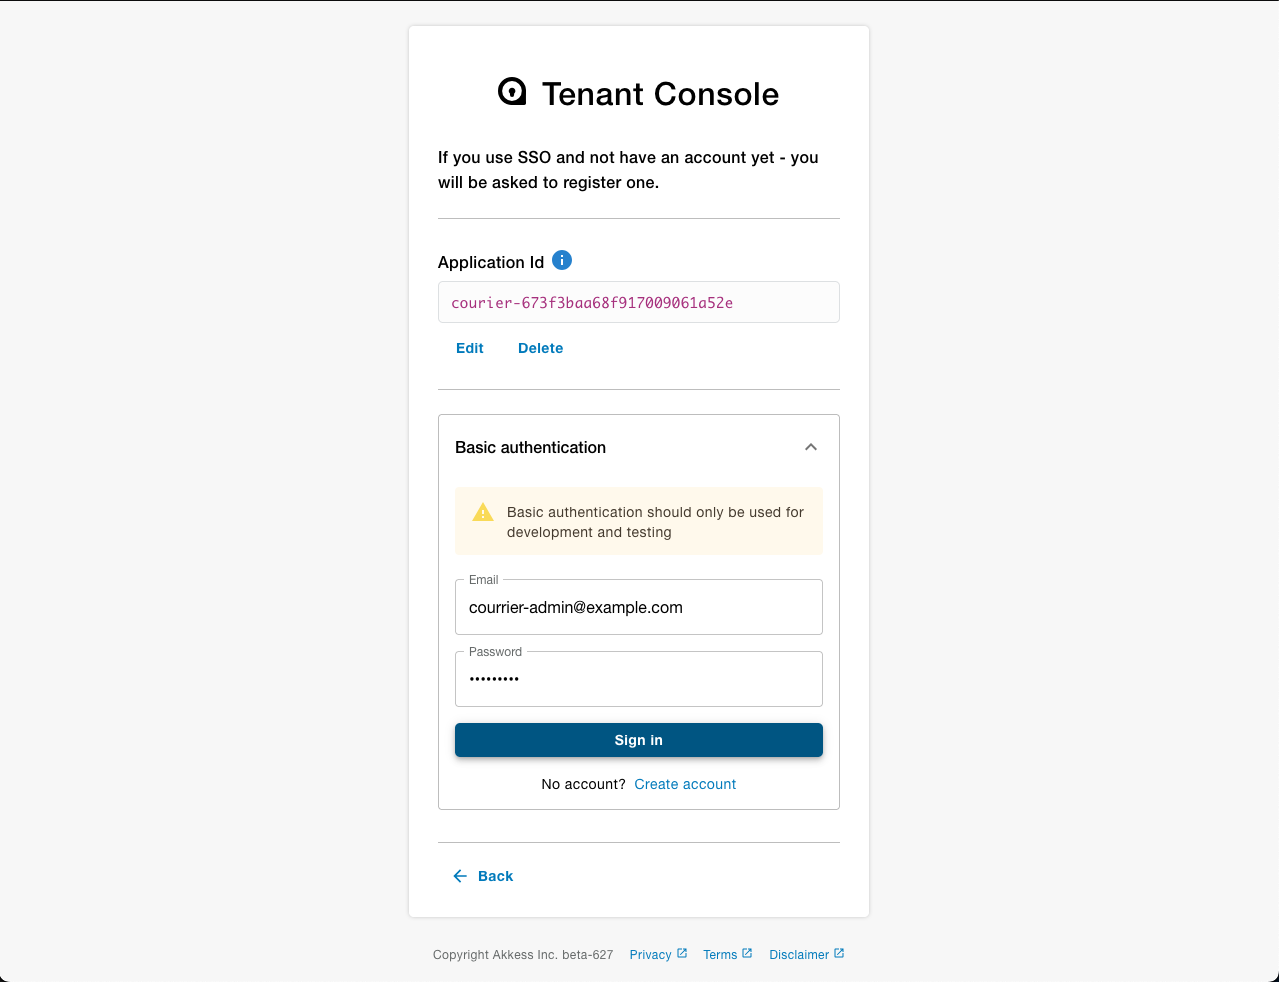
Press the 'create account' and use the same email address as before and a password. After the account is created you will be prompted to log in using the same email and password.
- Create
- Confirm
- Login
Browse your tenant
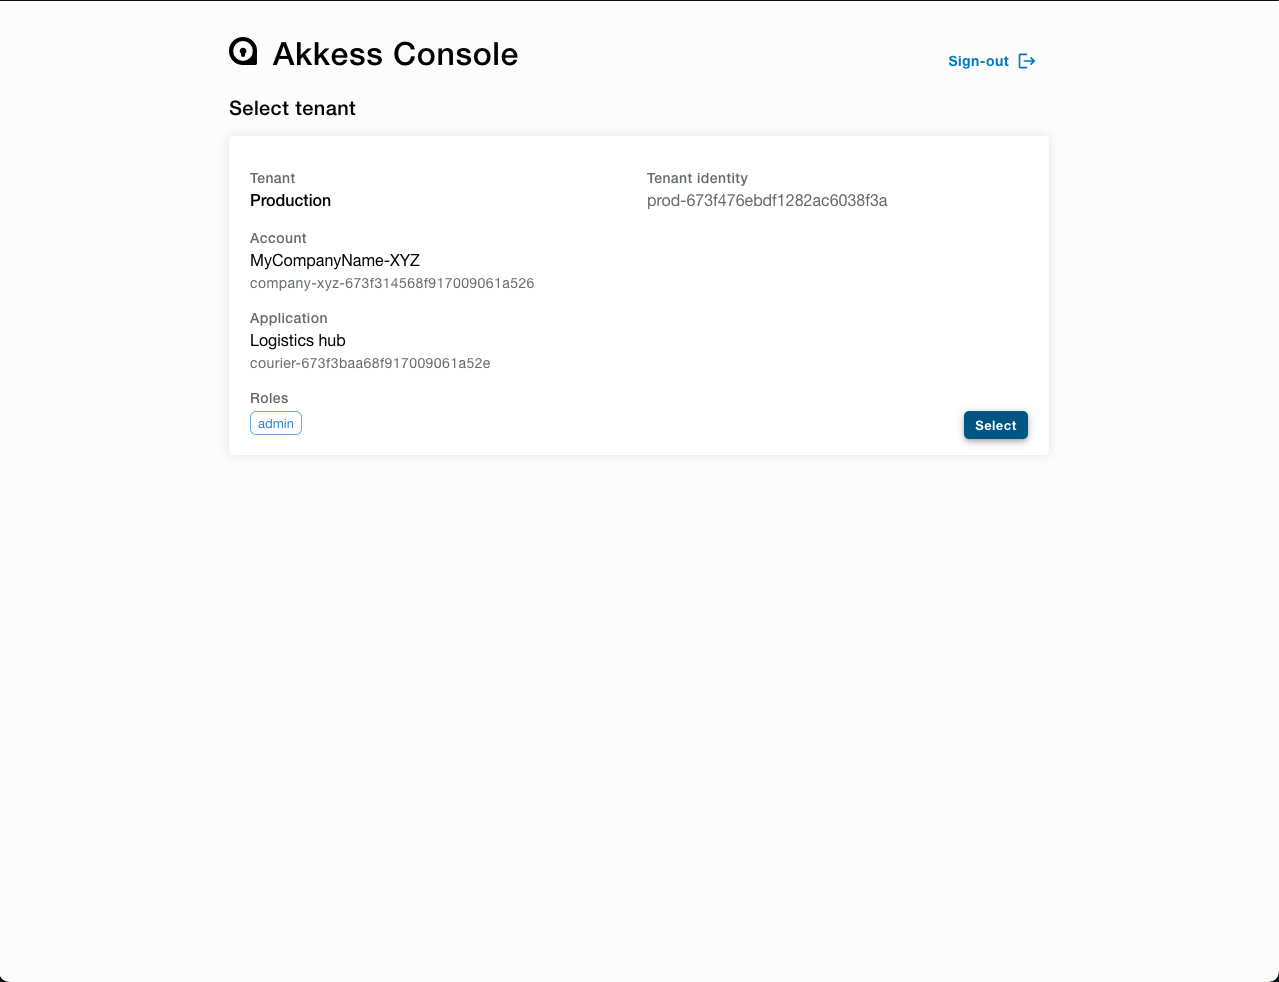
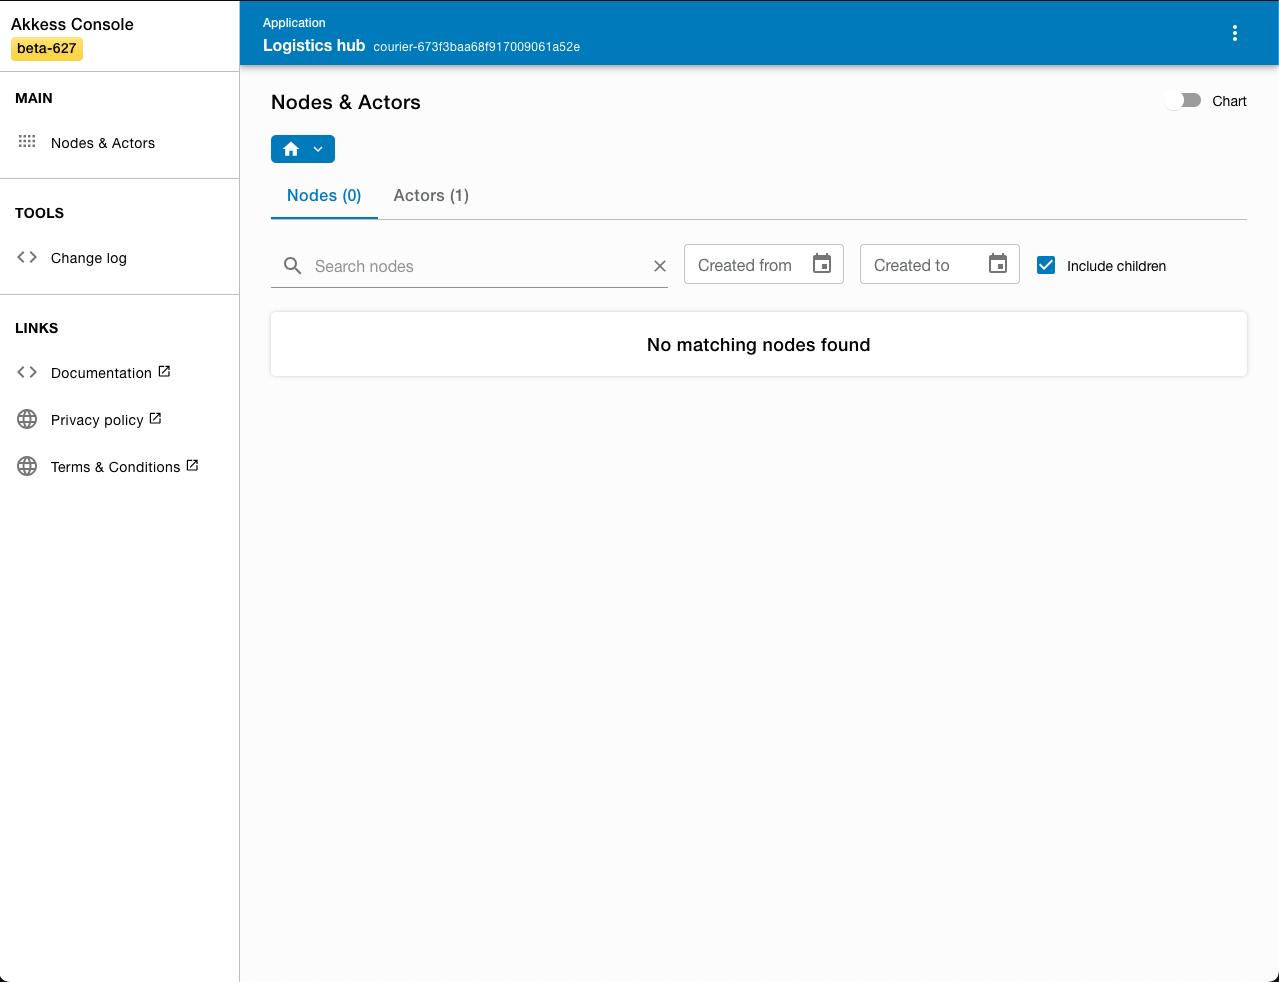
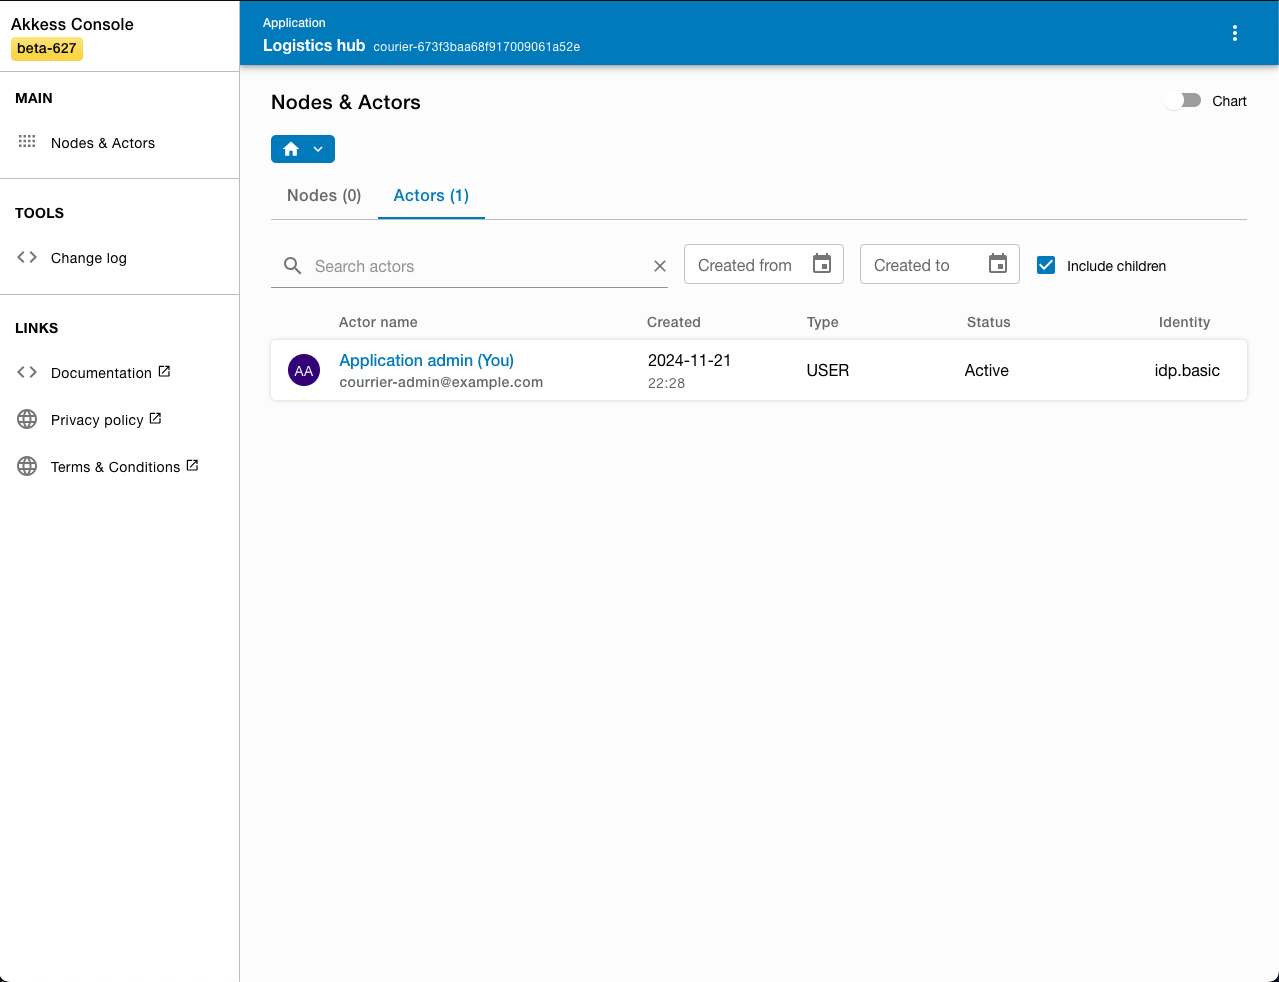
Once logged in you will be presented with IAM Tenant Console portal. This is a convenience portal that can be used to interact with core IAM services such as actor and node.
Any permission configurations that affect actor or node will automatically be reflected in the IAM Tenant Console as well.
- Select
- Nodes
- Actors
Inspect your token
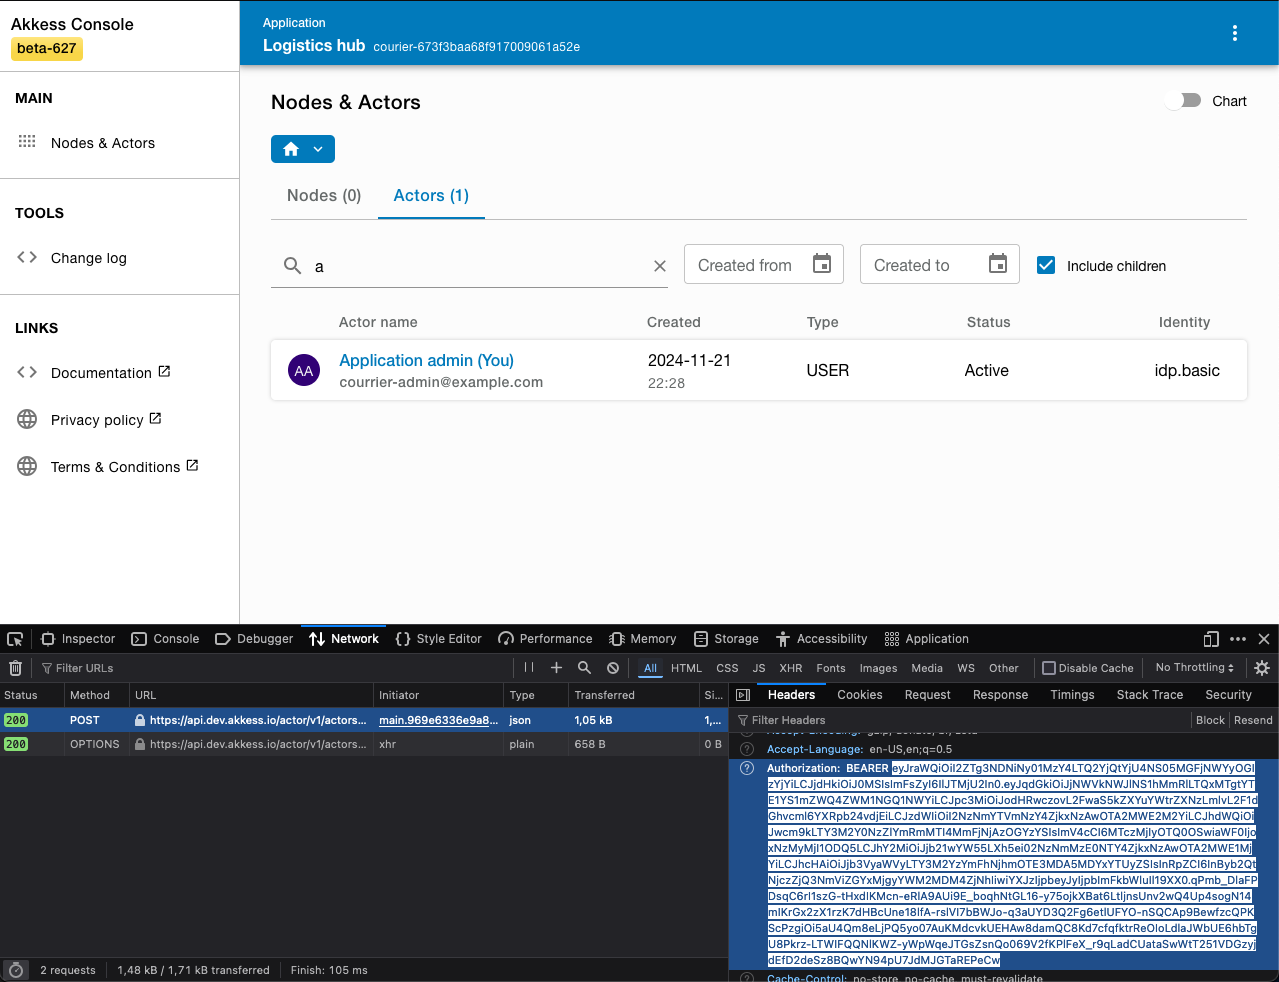
In your browser you can open 'development tools' and inspect your network traffic. Navigate in the IAM Tenant Console or perform a search to generate a request to the IAM core services. Then inspect this network request and check for the 'authorization' header. The content of this header is your token.
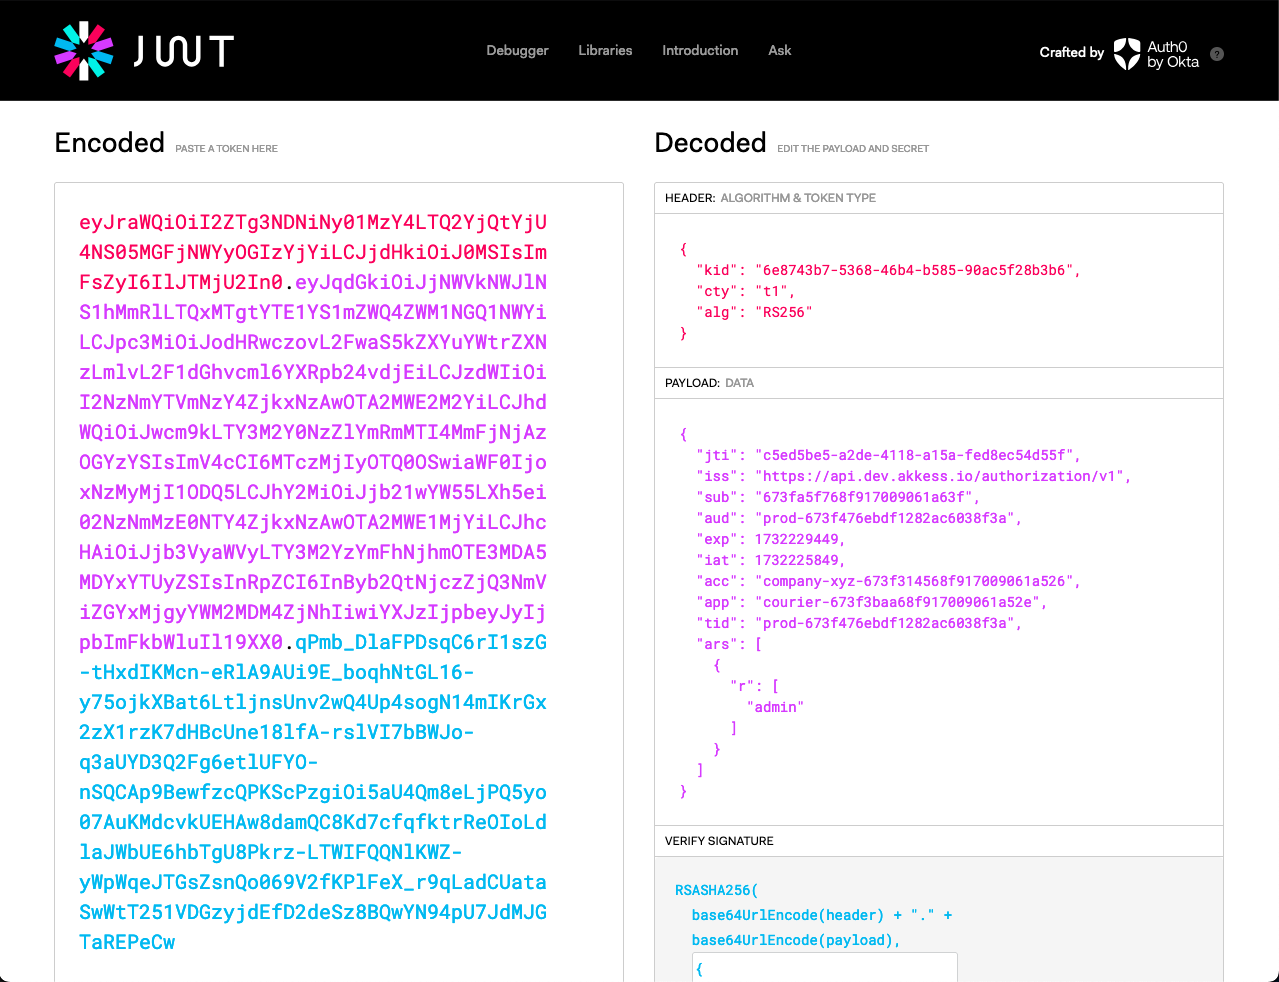
To see and inspect the full details of your token you can copy the value and check the raw data using jwt.io.
Tokens are credentials and are used when authorizing calls to endpoints.
Take great care when handing these, so they are not leaked to any threat actor.
- Extract
- Inspect
Congratulations
You've made it through the get started guide and created your first application and made your first requests in your first tenant. Please use the IAM Tenant console to further familiarize yourself the actor and node APIs or try them out using curl, OpenAPI clients or using our IAM SDK.
A good exercise is to create relevant test data that reflects your application and domain. This could be done by creating nodes that represent how your data, organizations or groups are structure. You can also create actors that represent different roles or users in your system, either with login details or as placeholders.
The next stage is to design your application and how it may interact with your existing or new services as well as third parties. See our use cases page for typical scenarios how the IAM Platform can be used in different contexts and our other tutorials.